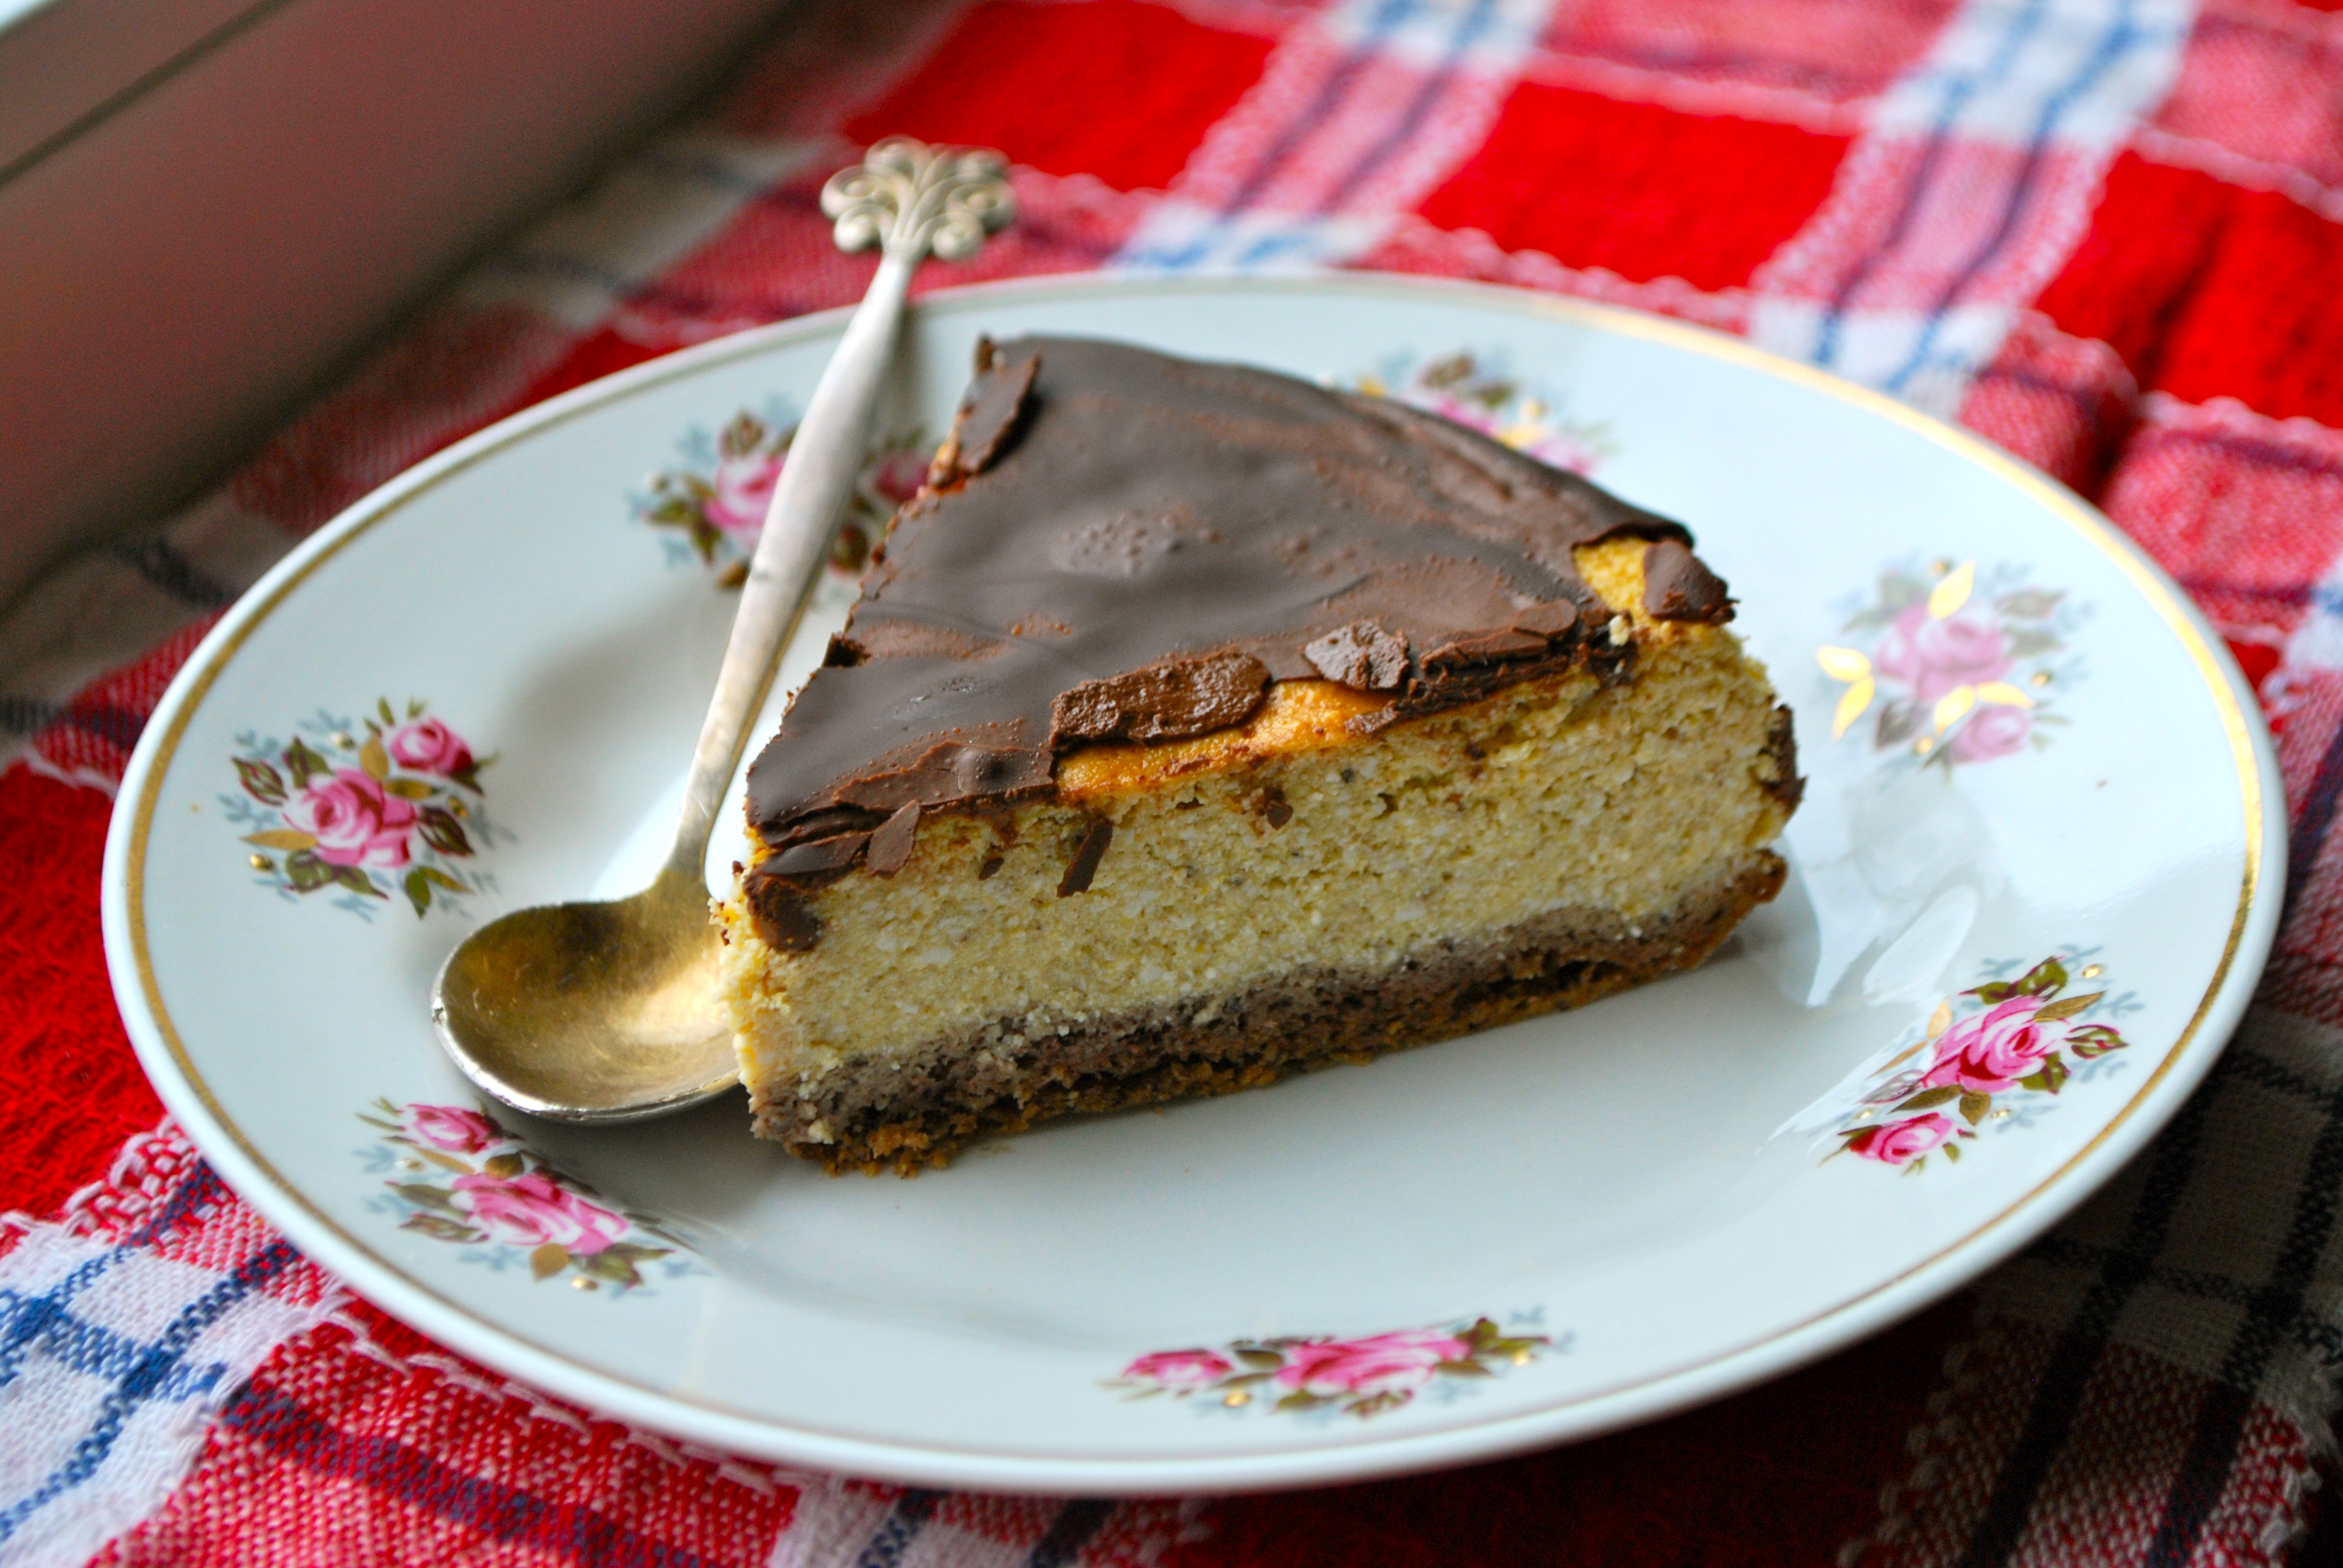
My go-to celebration dessert is cheesecake. You can make it grain-free, sugar-free, gluten-free, low-carb and guilt-free and have it still taste great. So this recipe will be my low-carb pumpkin cheesecake that I had for my 22nd birthday. Enjoy!

The recipe makes 6 portions.
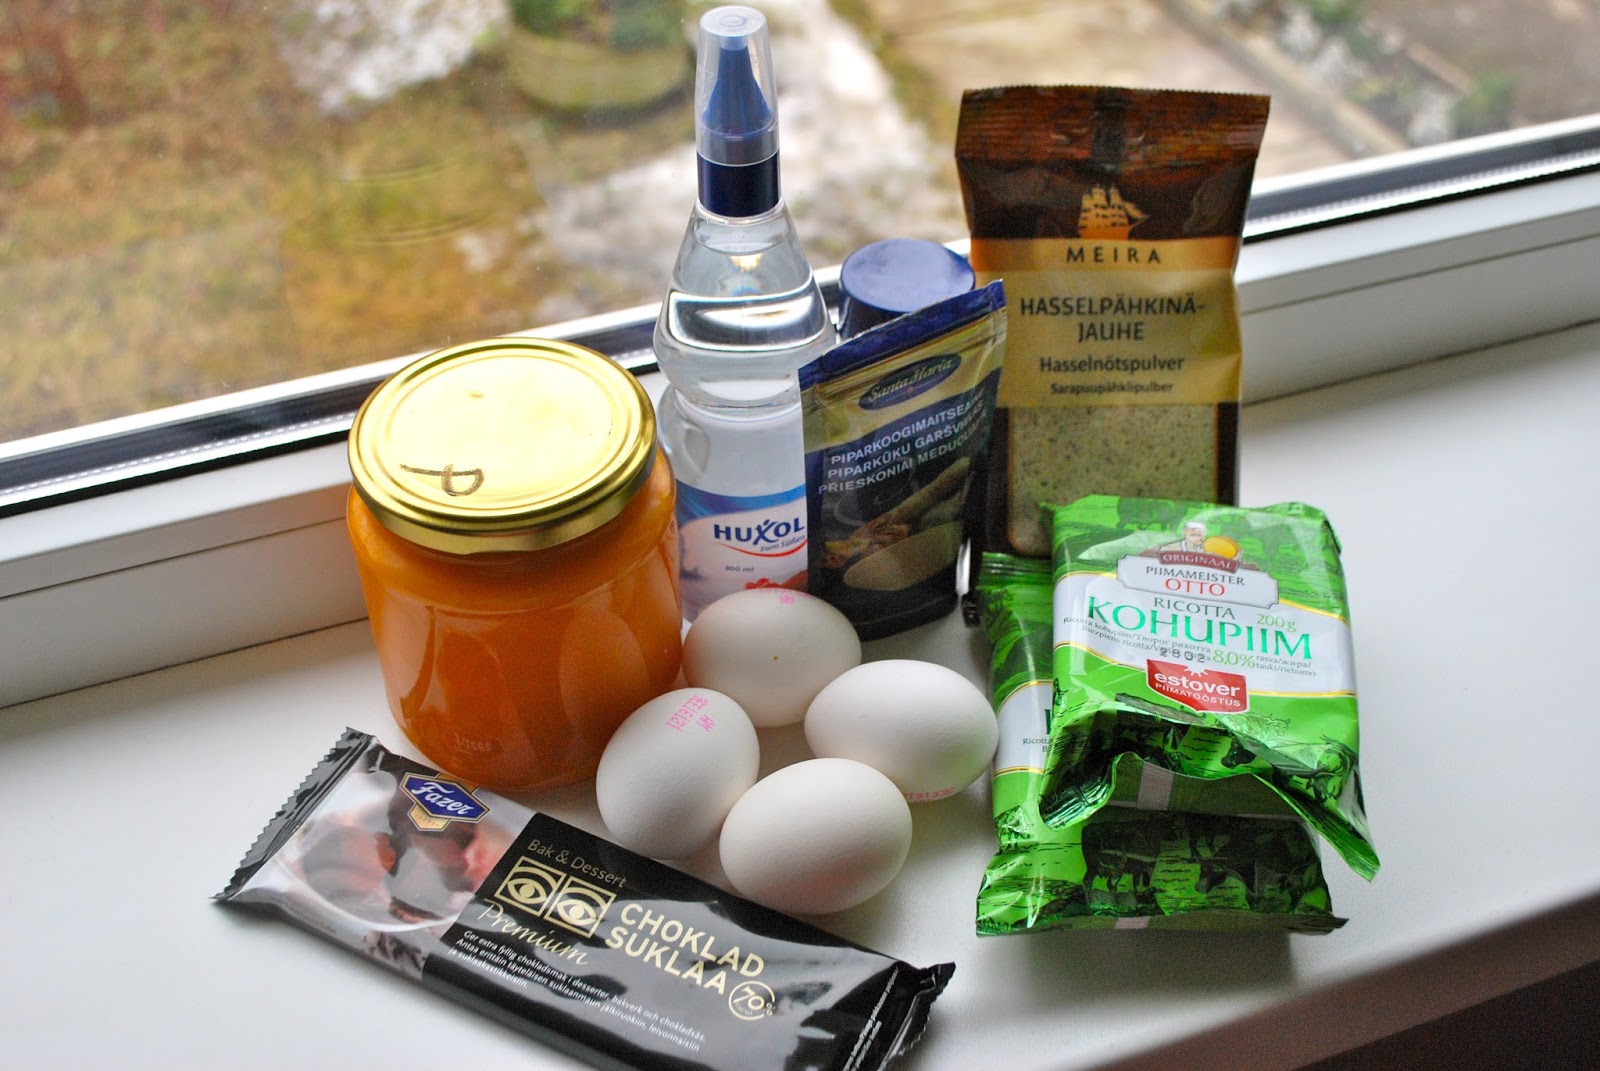
What do you need?
For the base:
-
70 grams of hazelnuts or hazelnut flour (depends a lot on your cakepan, see more at the end of the recipe)
-
5 grams of cinnamon / gingerbread / pumpkin pie spice (optional)
-
1 egg
-
a dash of baking powder
For the filling:
-
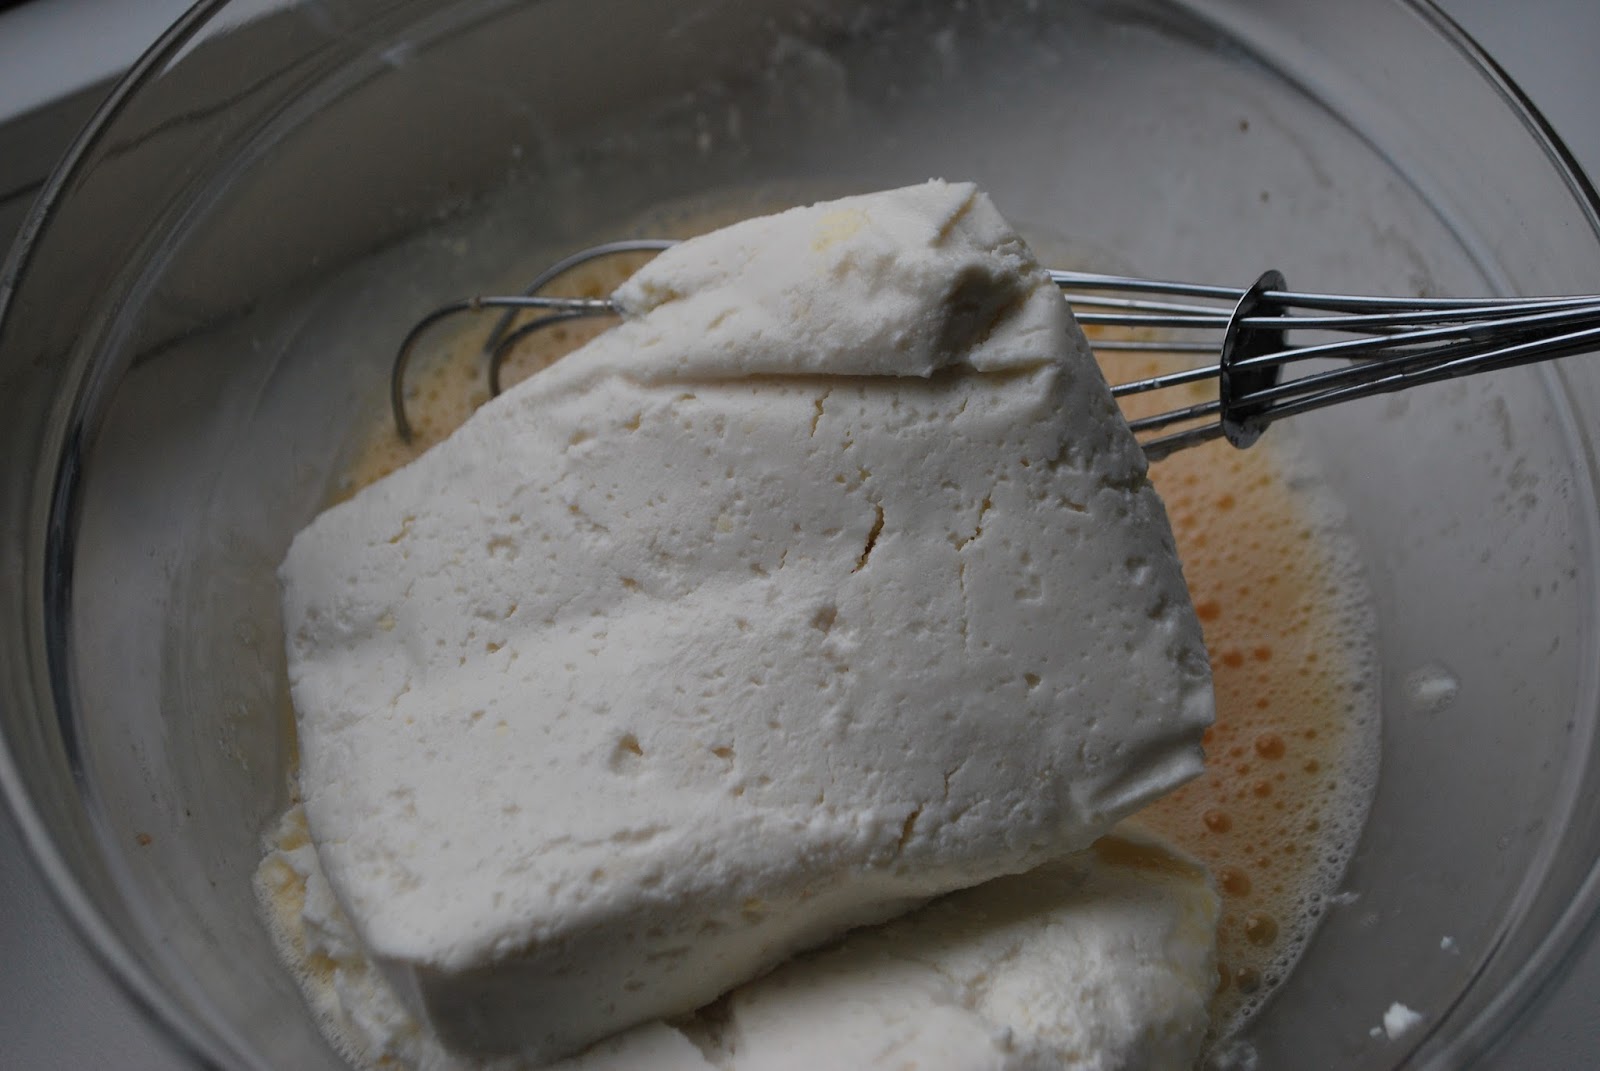
400 grams of ricotta
-
3 eggs
-
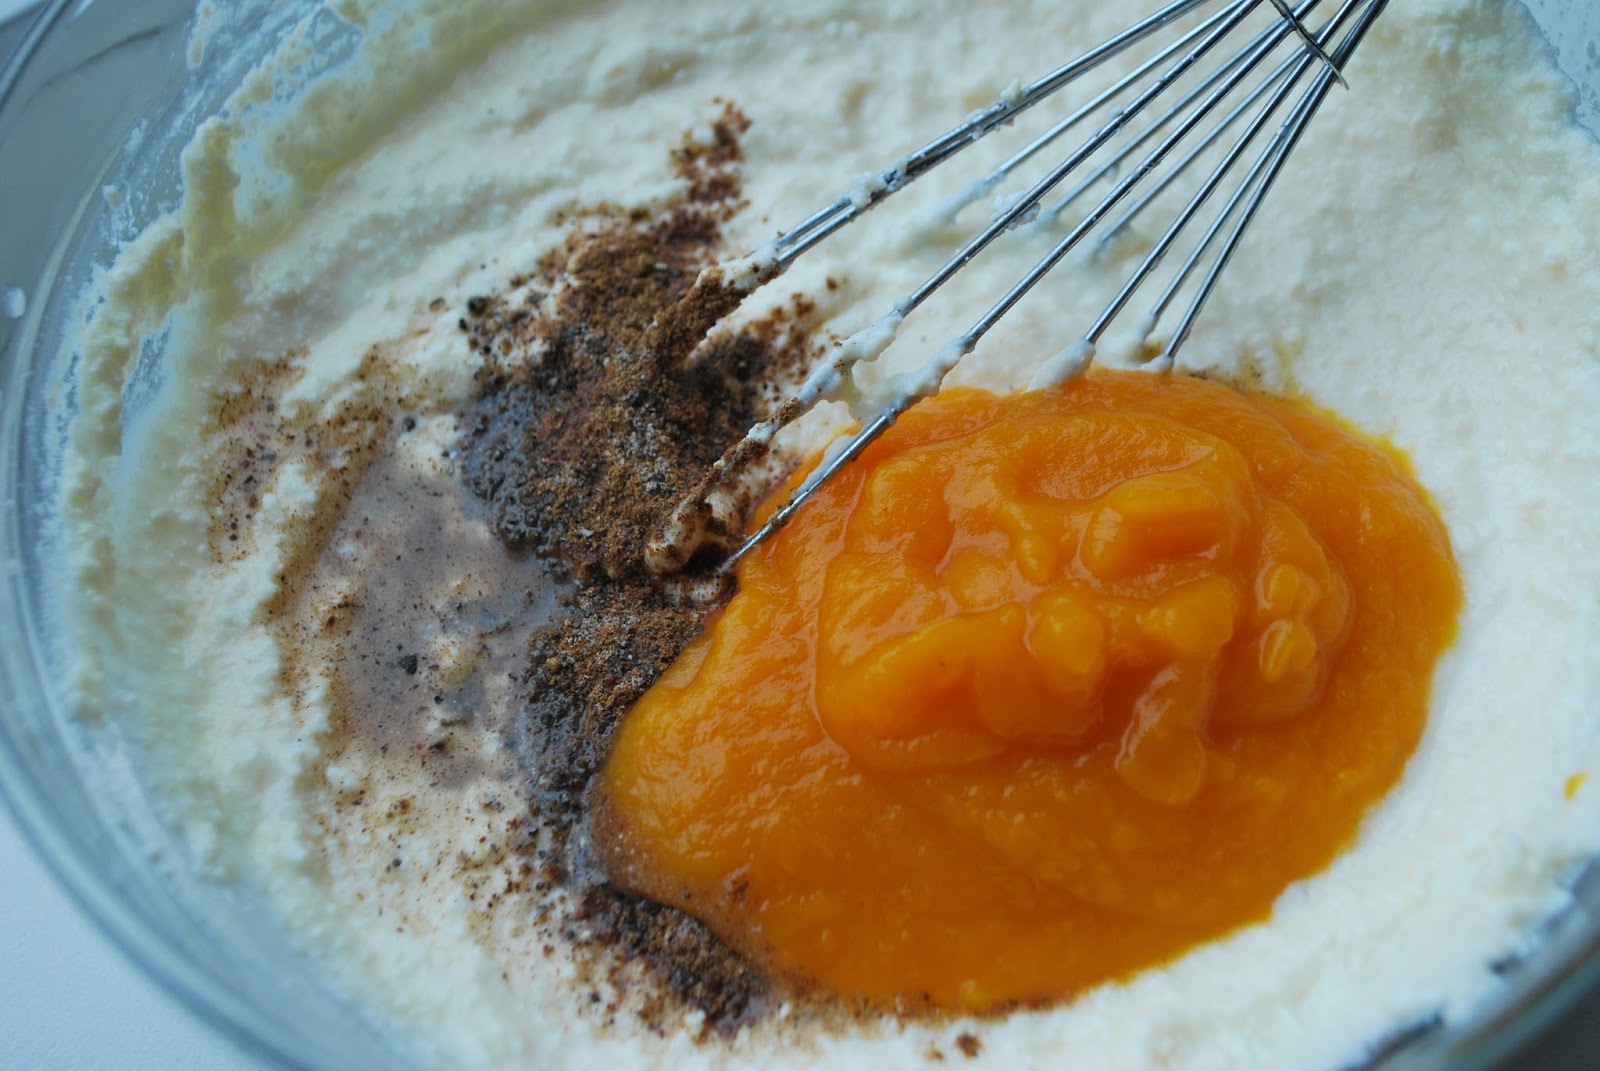
100 grams of pumpkin pyree (I used just pyreed pumpkin with no extras that my mom canned herself)
-
gingerbread / pumpkin pie spice to your liking
-
a dash of baking soda (about 1/2 teaspoon)
-
sweetener
For the topping:
- 50 grams of dark chocolate (the darker, the better, I used Fazer 70% but would recommend Wawel 90% – it has nearly 2 times less carbs)
Extras:
How to make it?
Depending on whether you are using hazelnuts or hazelnut flour, the recipe varies.
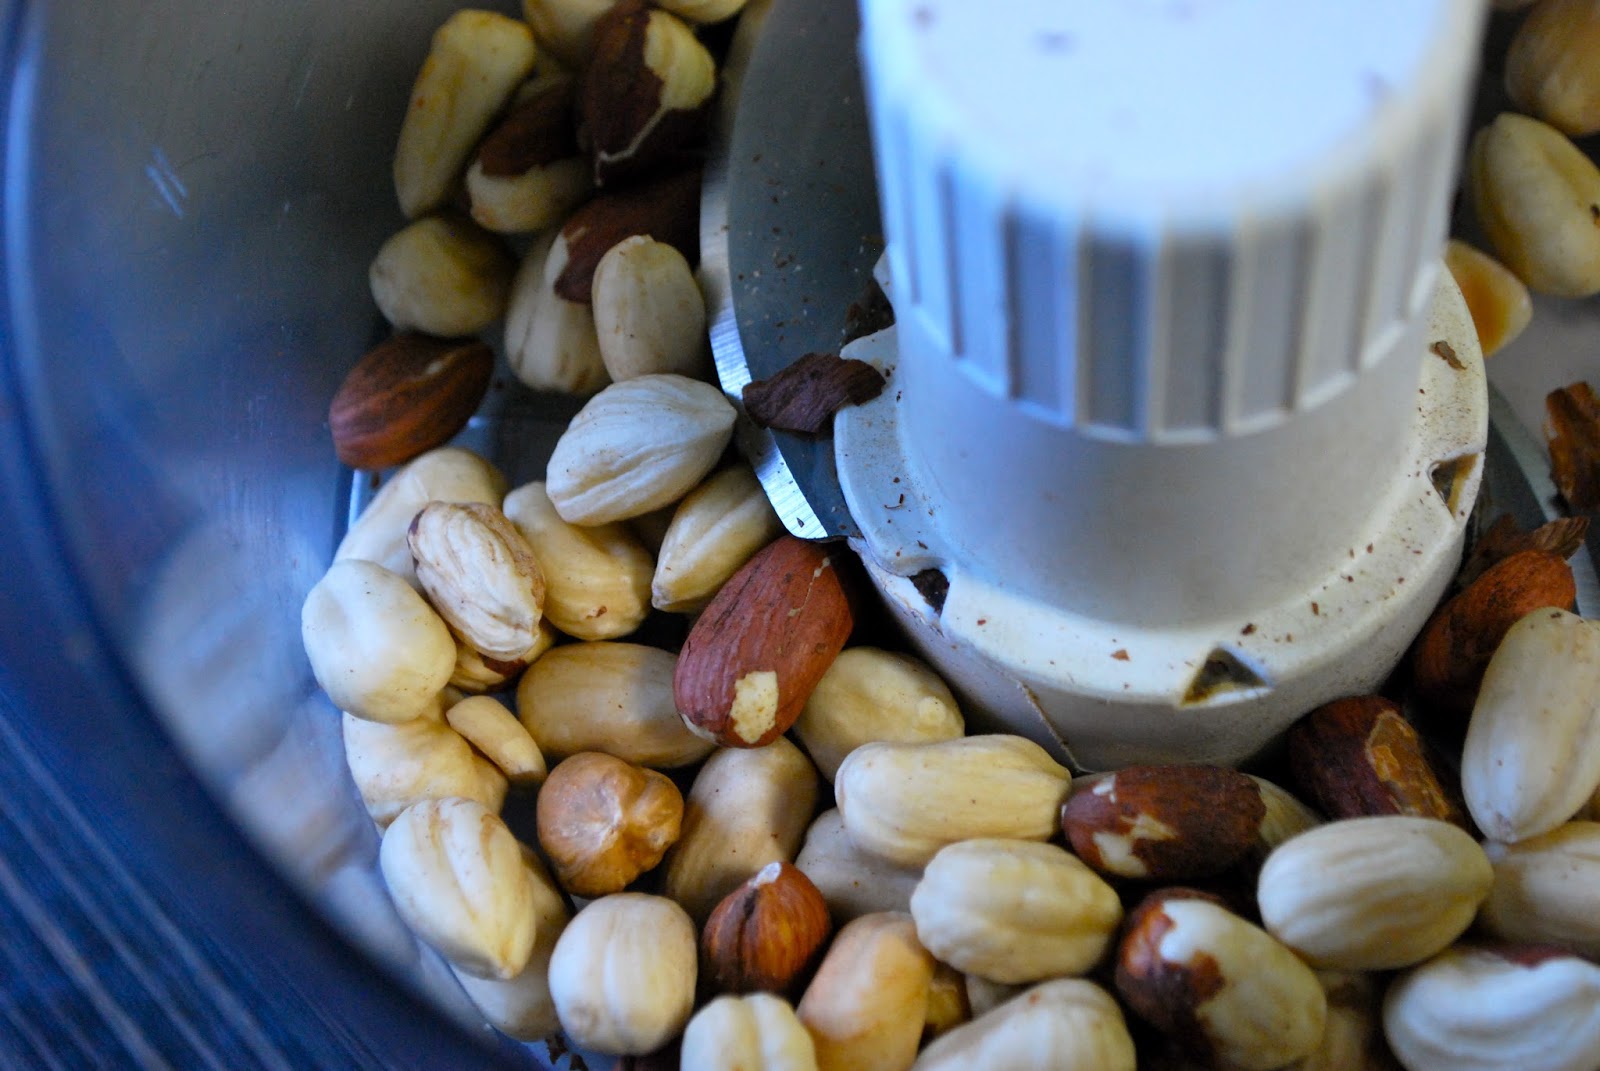
If you are using full hazelnuts:
First of all, roast the nuts. For that heat your oven to 200 degrees Celsius, pour nuts into a pan and dry roast them for about 10 minutes or until the little skins start to come off and nuts become fragrant.
Turn the oven to 180 degrees, you’ll need the oven soon.
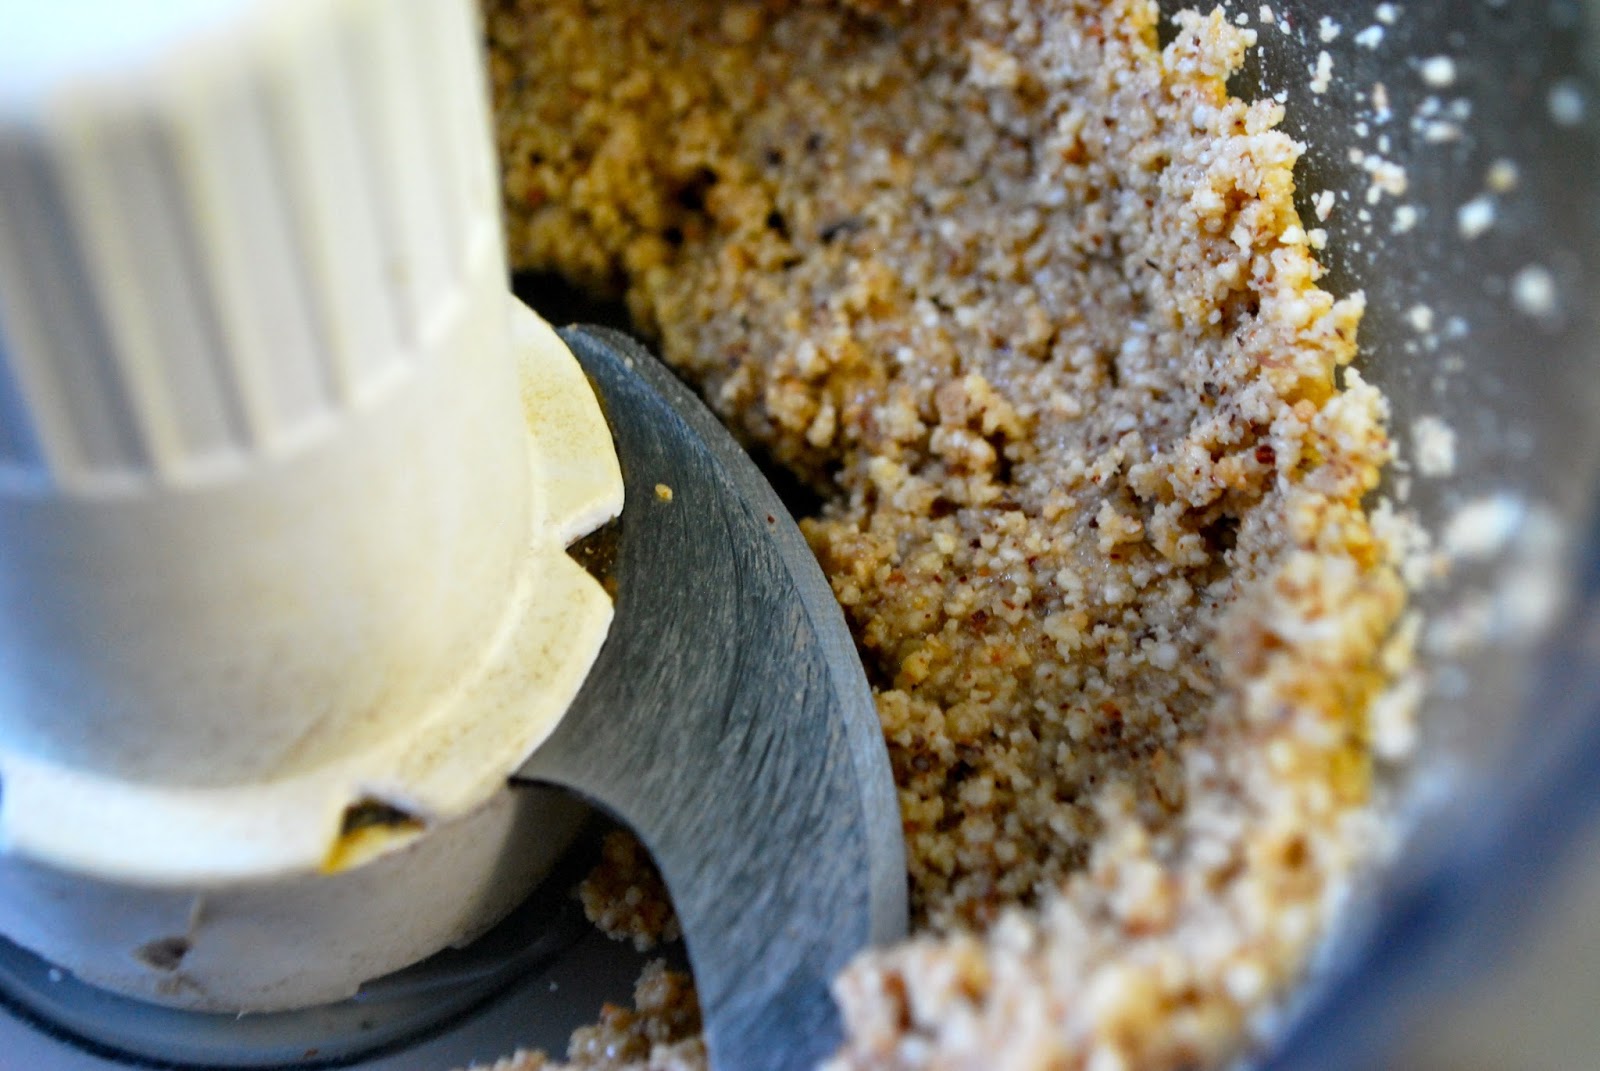
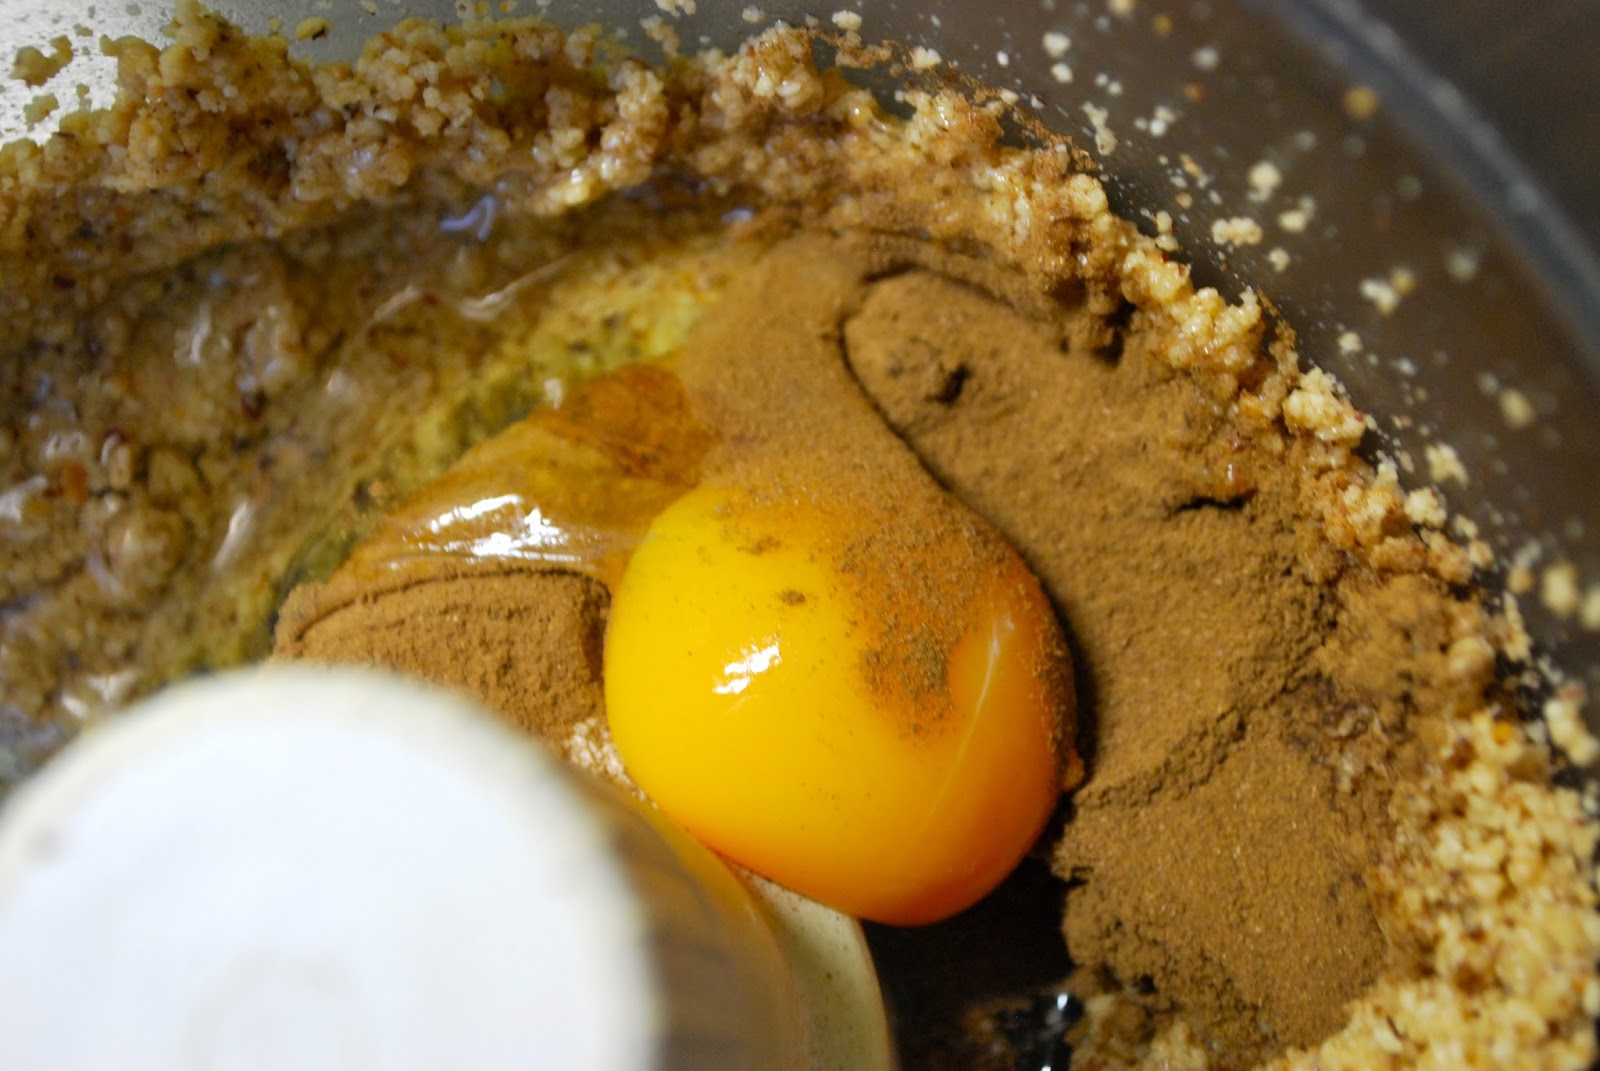
Now let the nuts cool a little and them blitz them up in a blender or food processor until nice and fine.
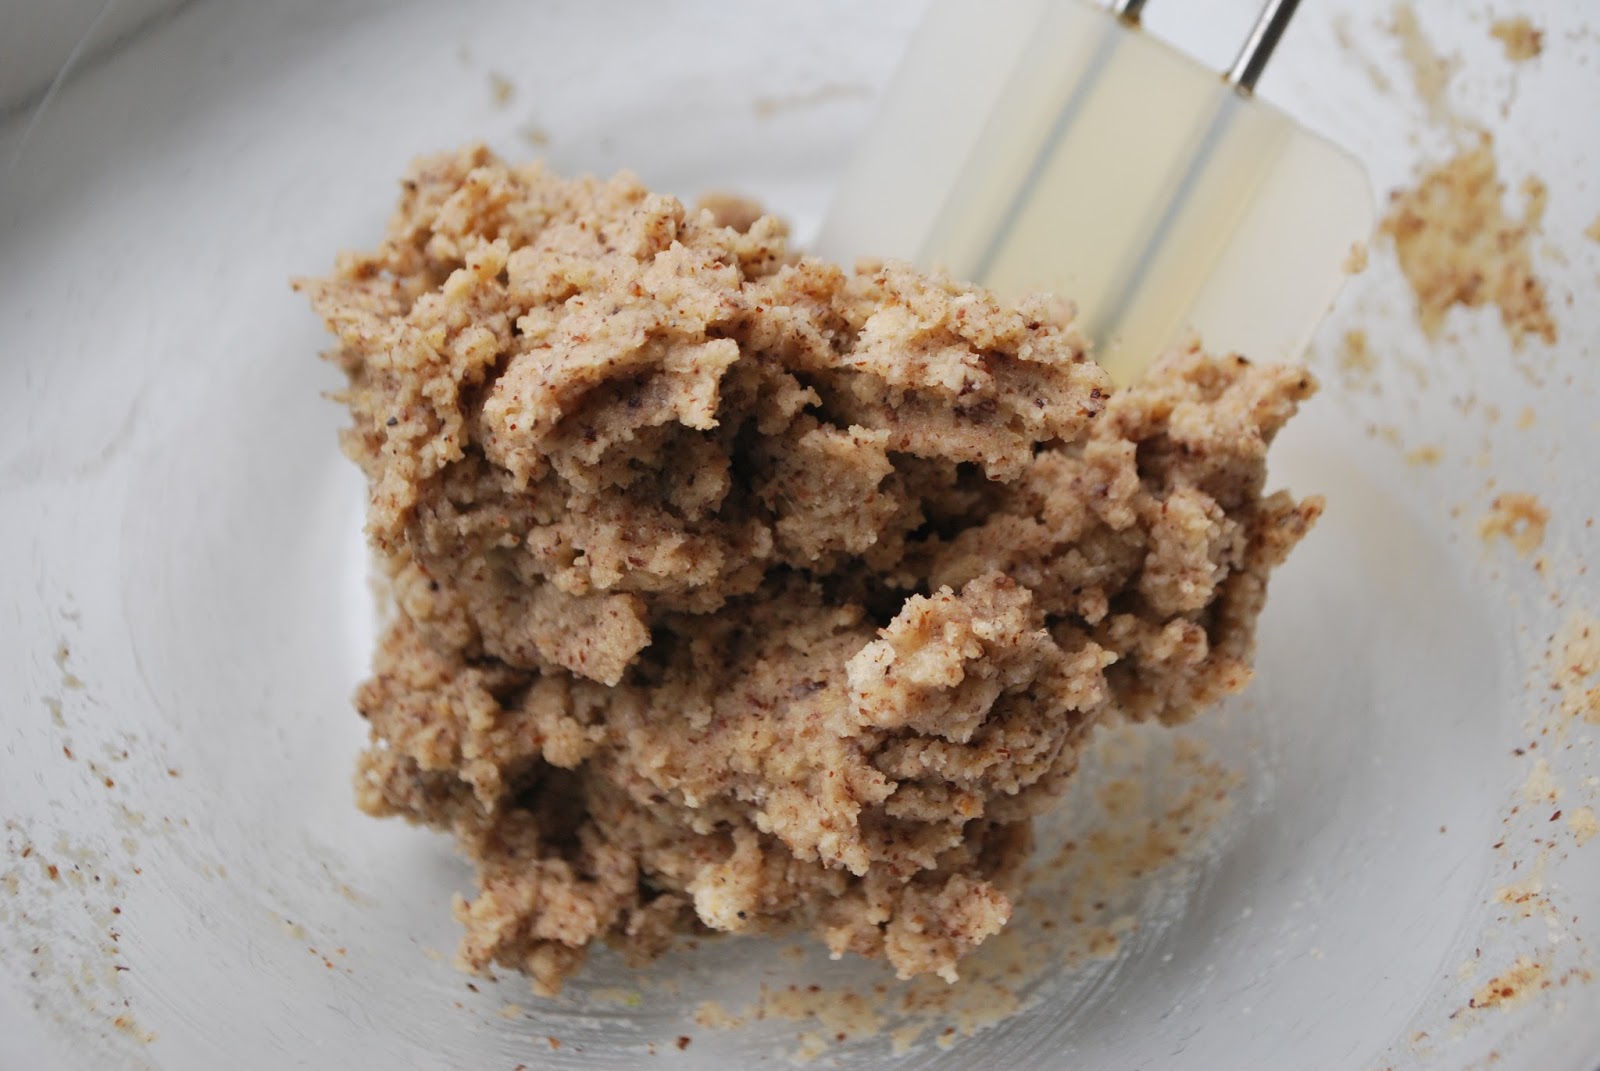
Then add the egg, spice (optional) and sweetener. Then you have a batter that looks like this:


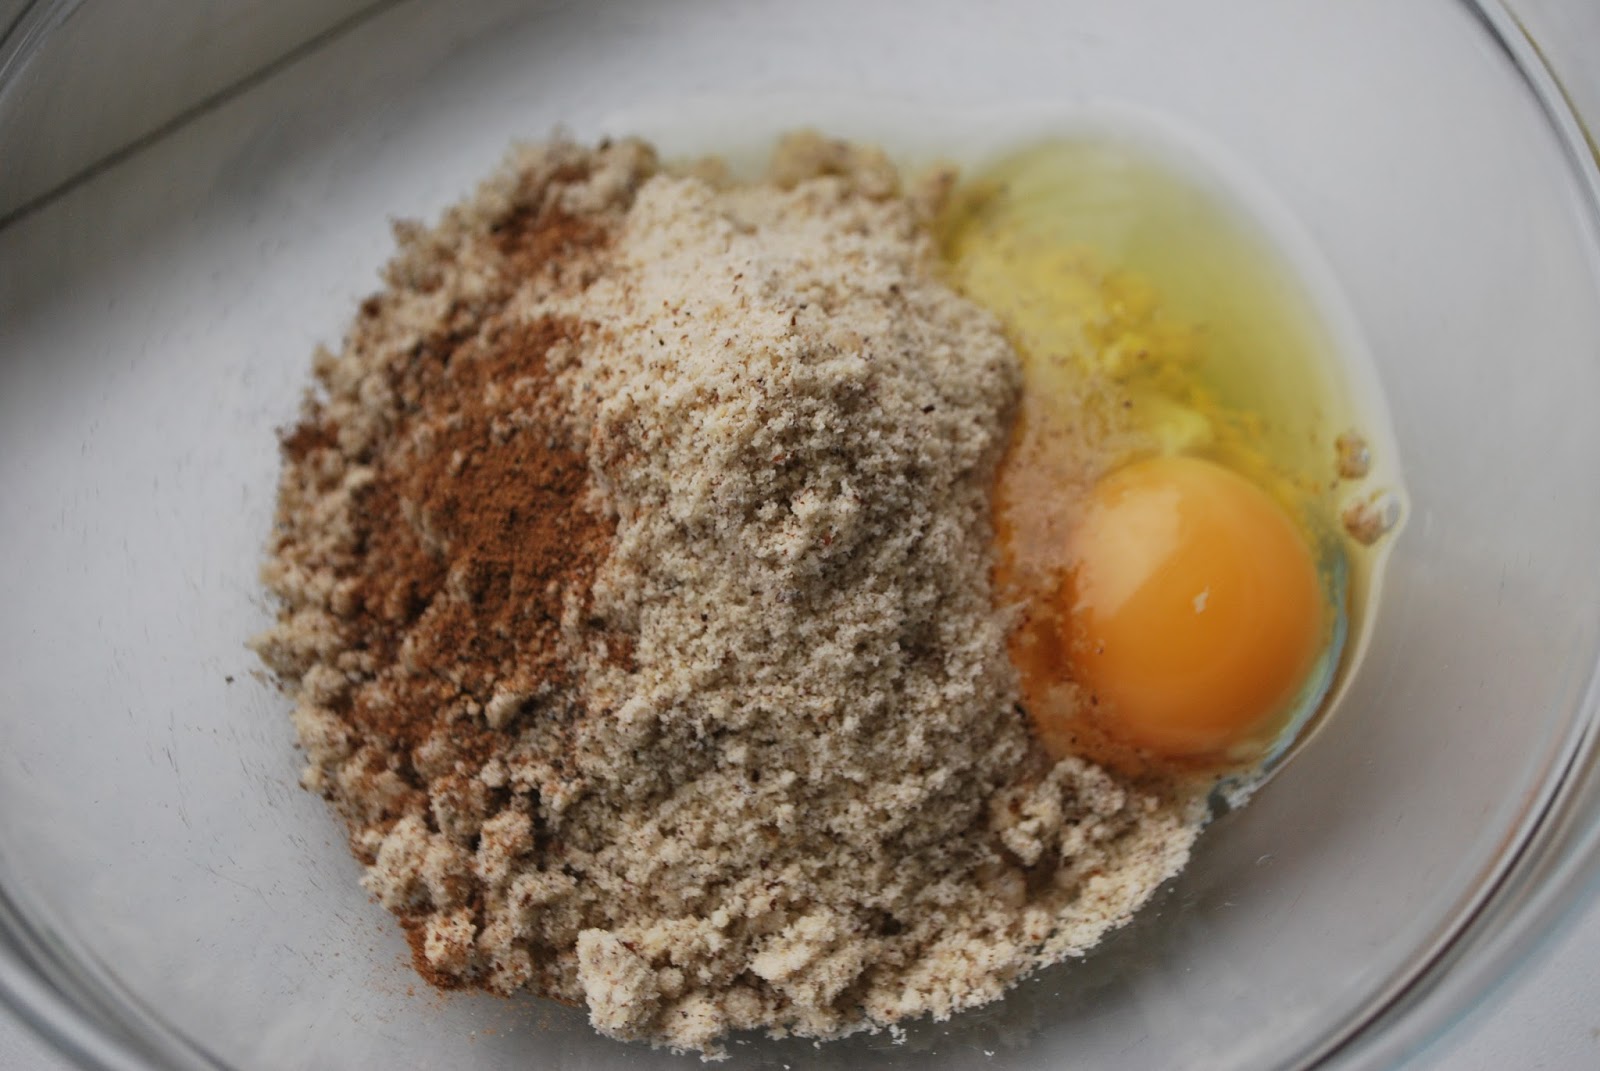
If you are using hazelnut flour, just mix all the base ingredients together until you have a smooth batter. That’s what I did, very simple and easy.
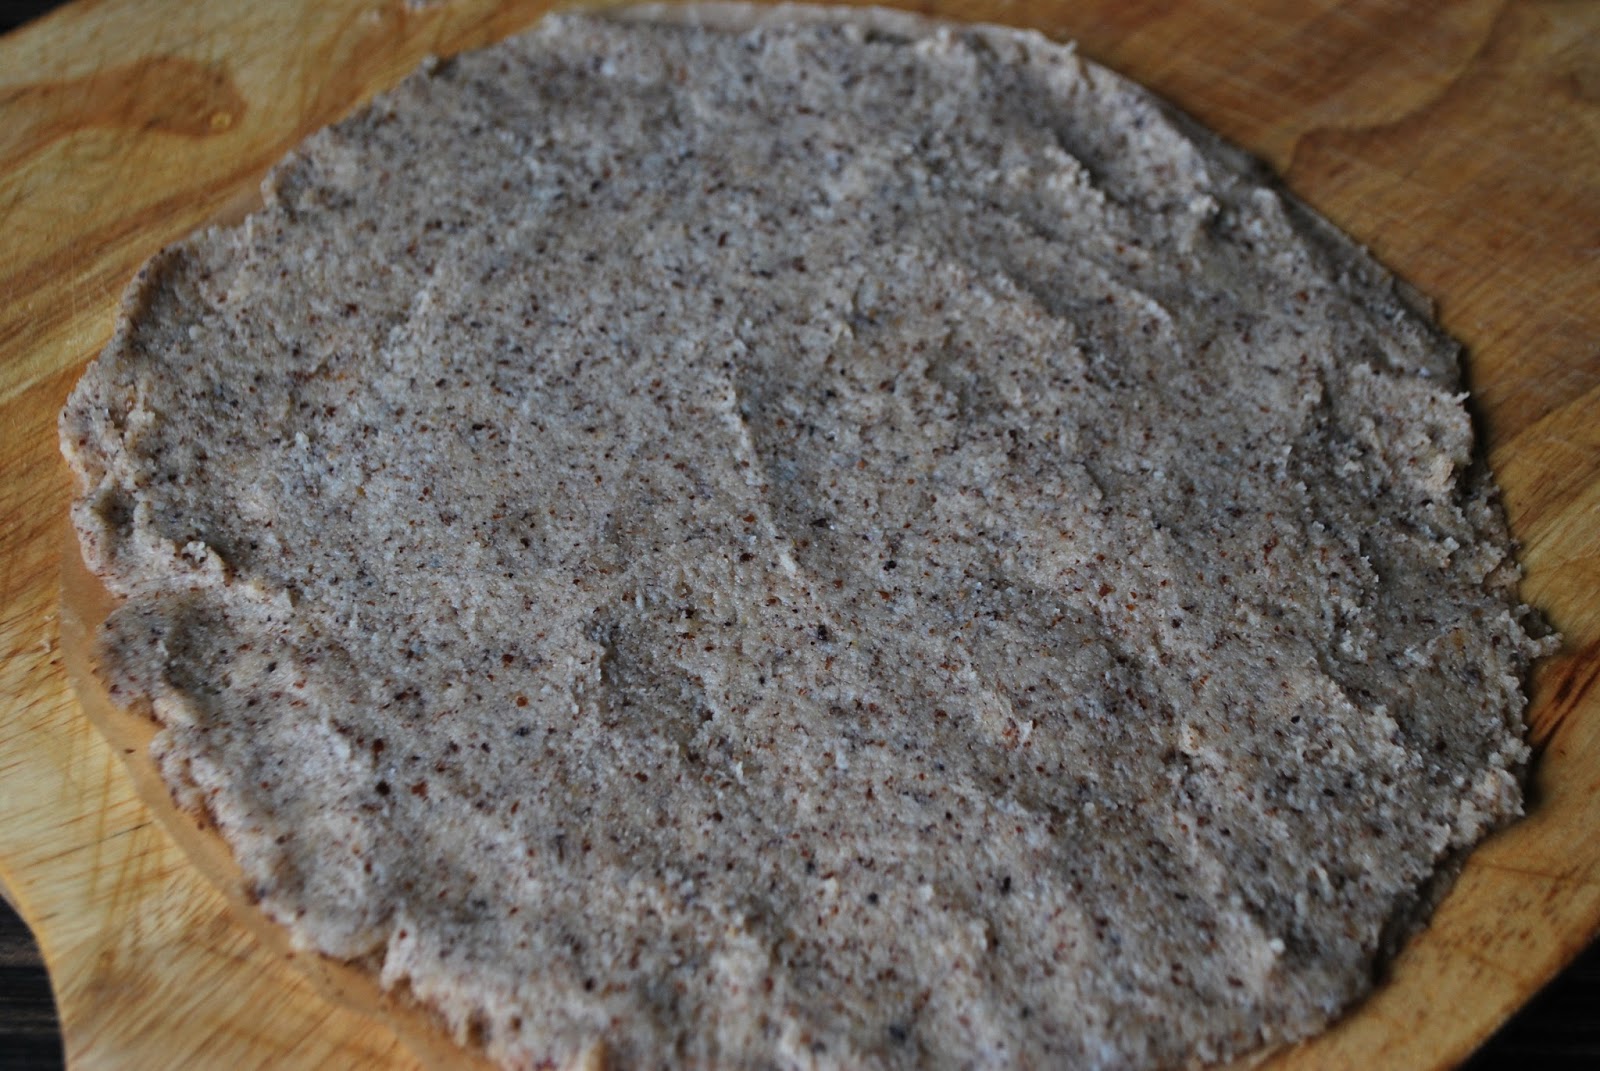
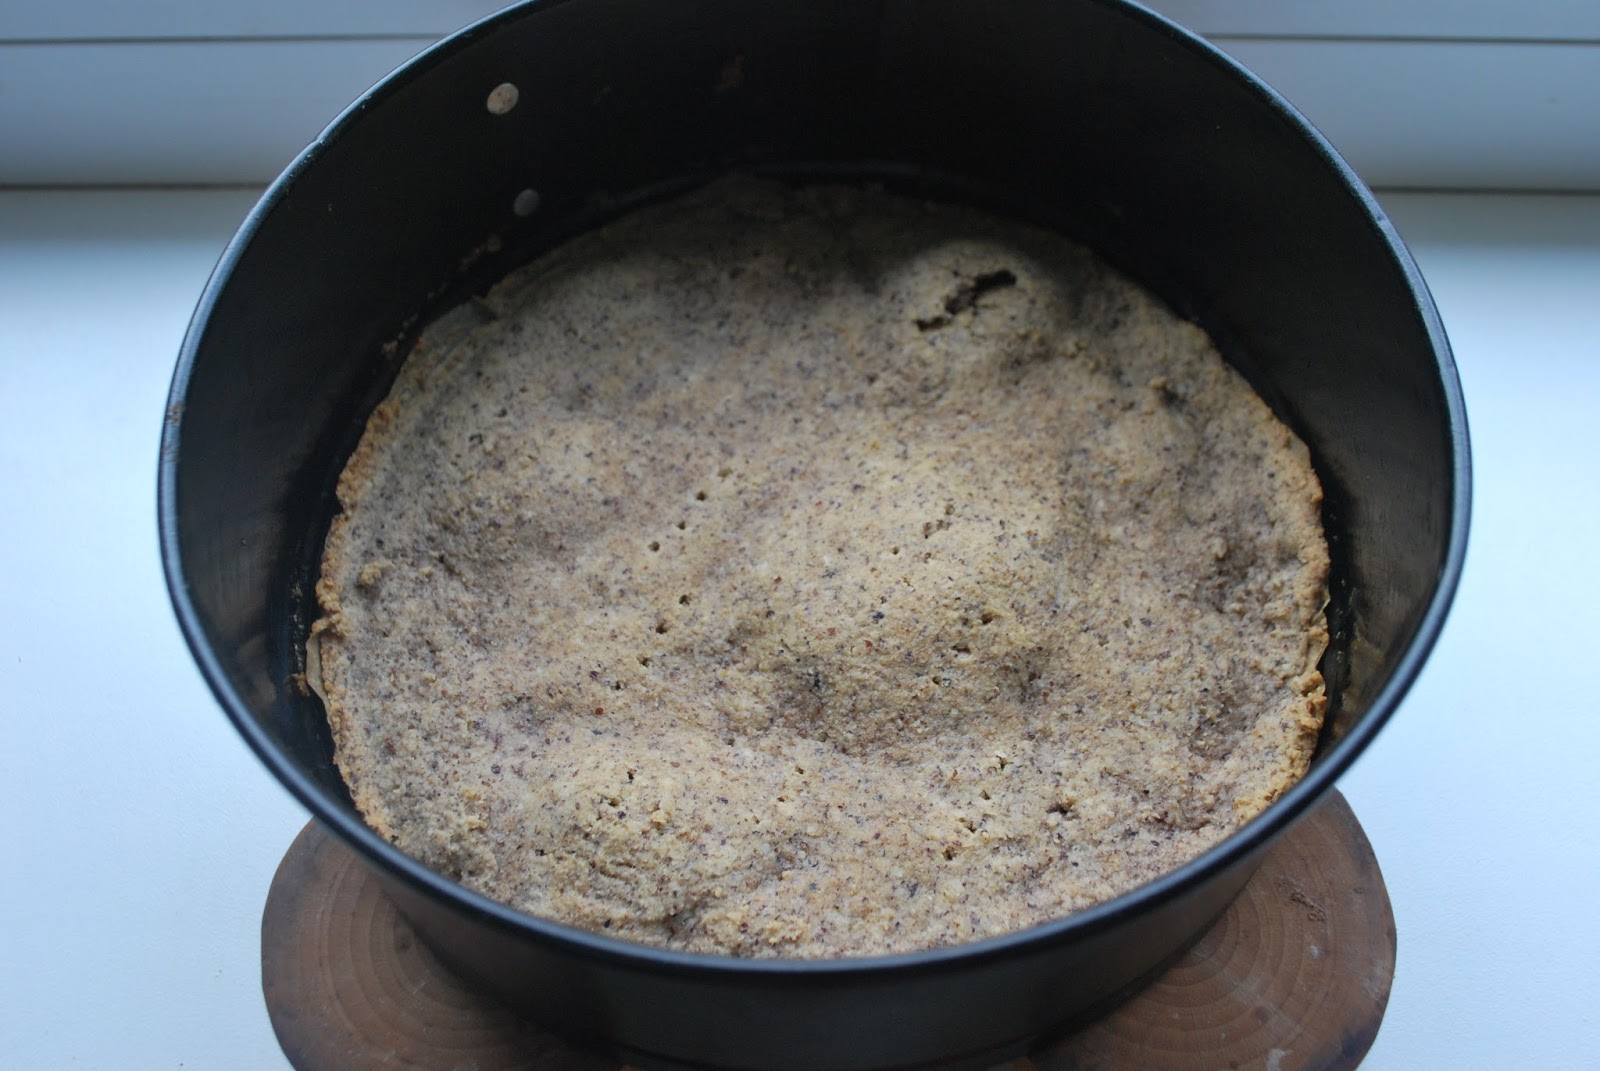
Now push the batter into your cake pan. You might need to wet your hands or use a small rolling-pin with water and then push it in, since the batter is a little bit sticky.


Bake the base of the cheesecake in the oven for about 10 minutes. Take it out of the oven and put aside.
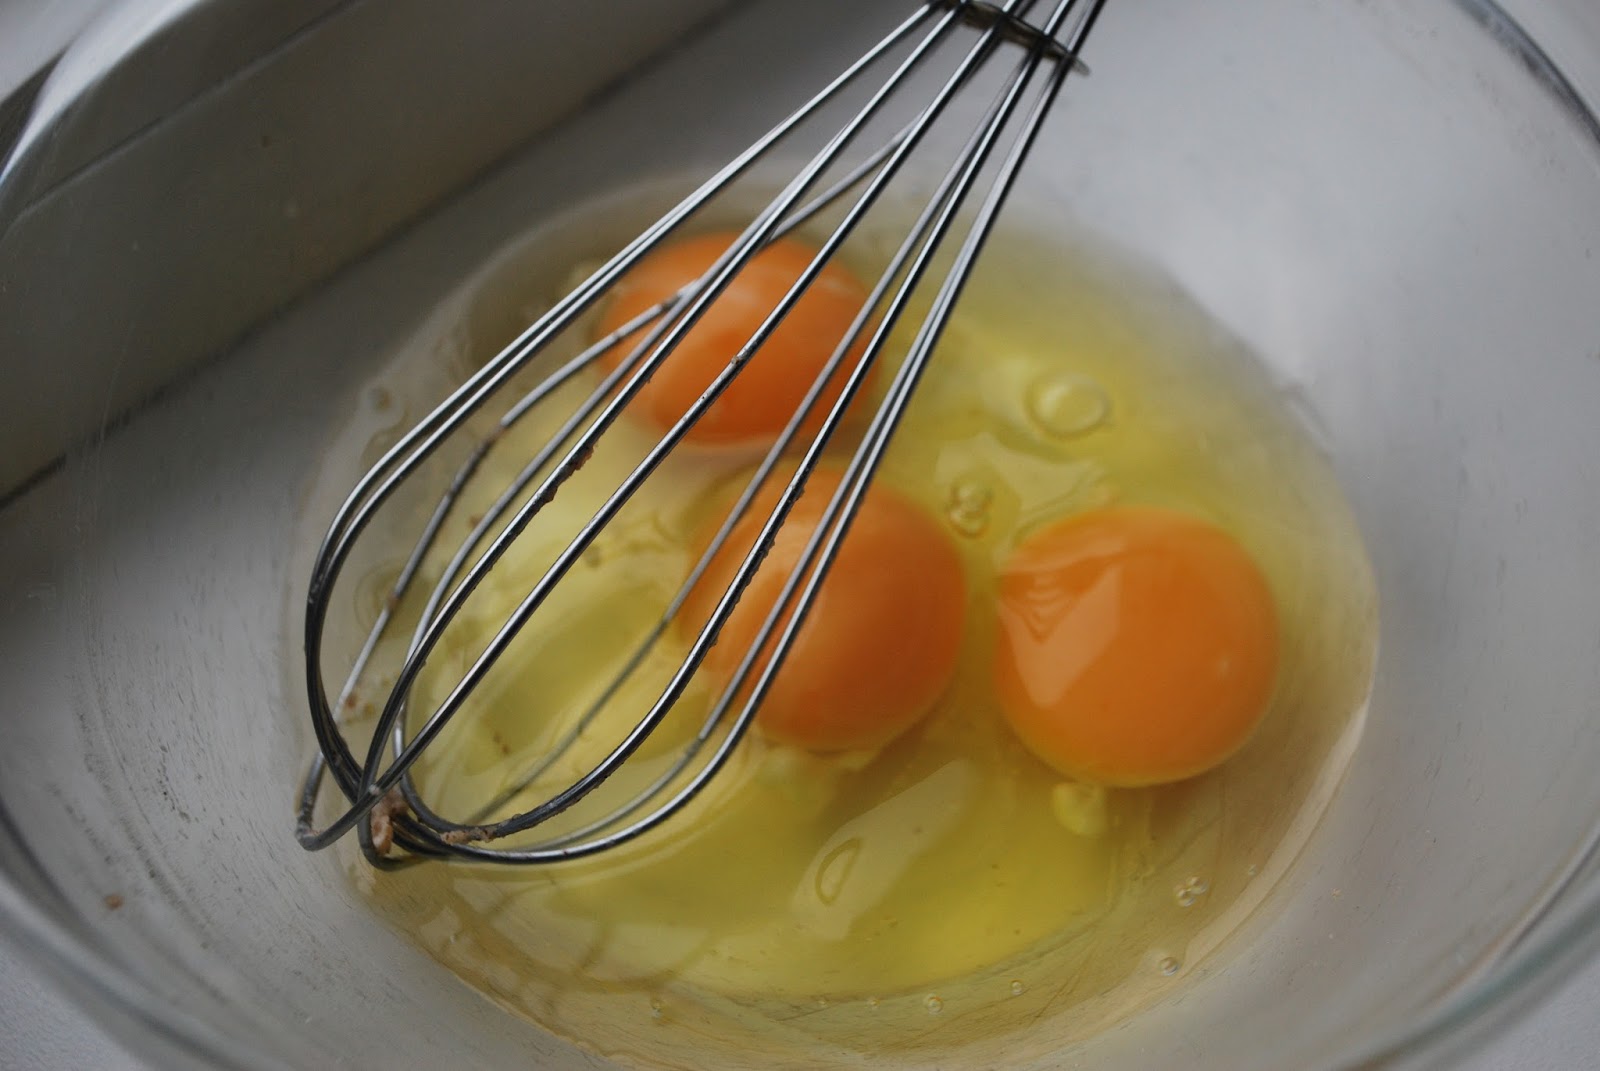
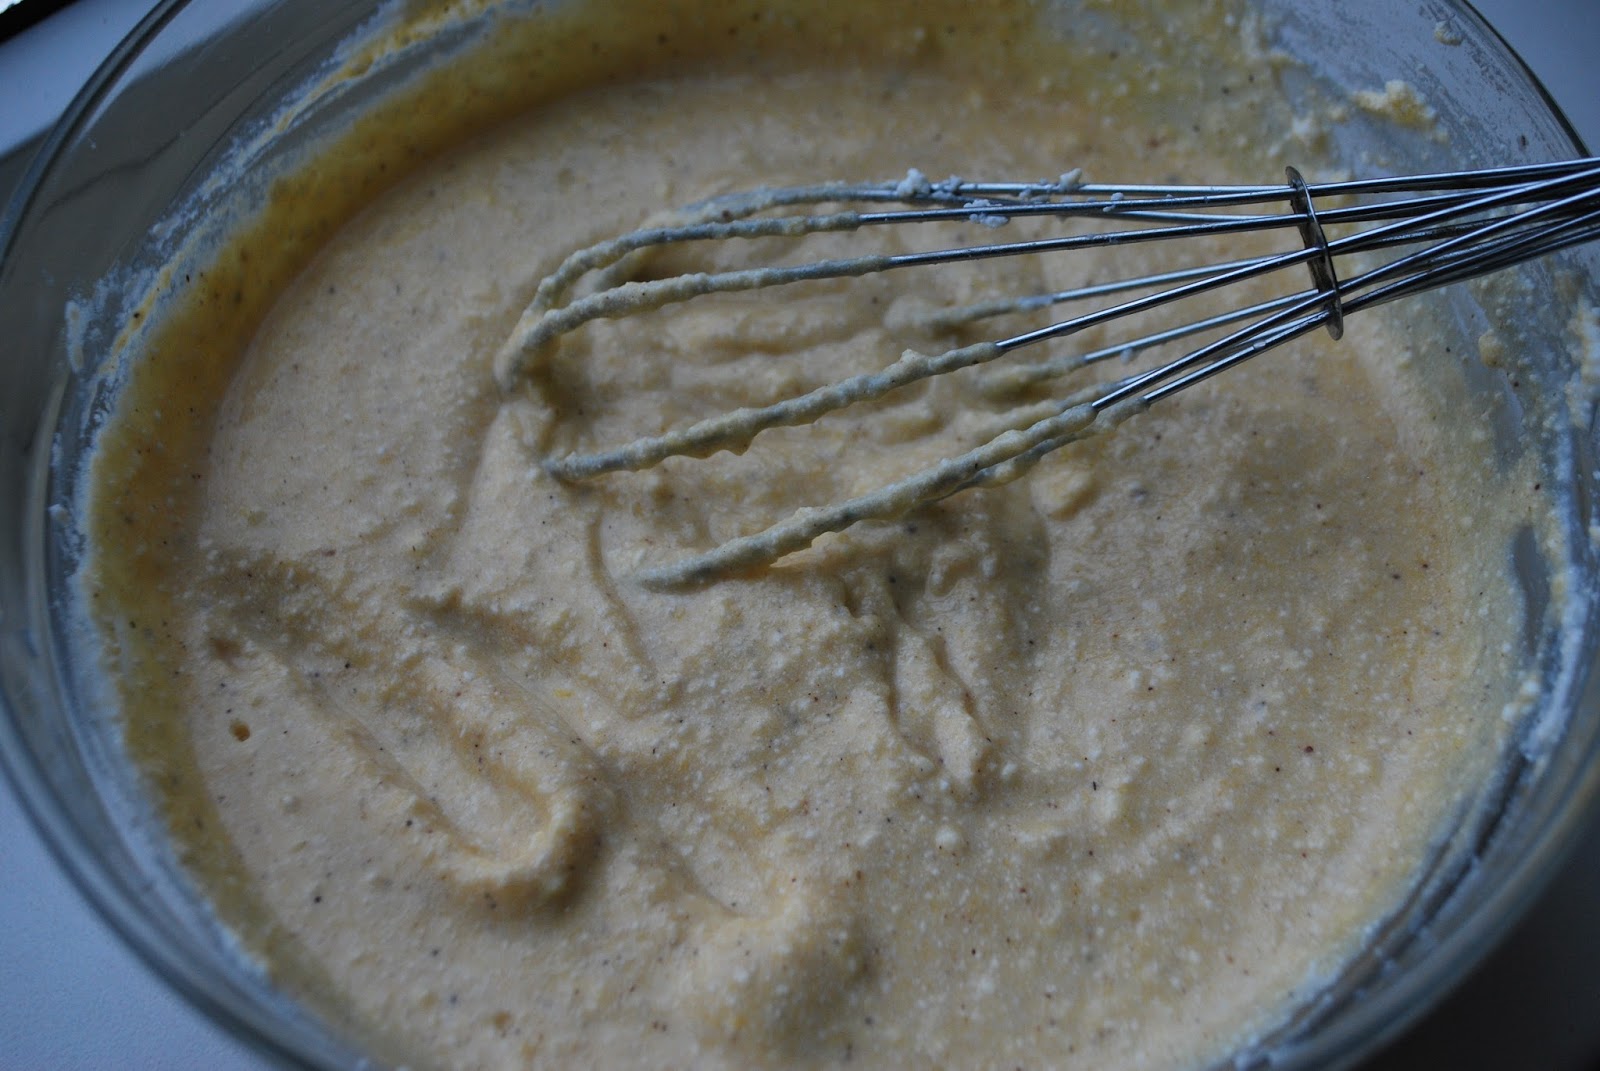
Now it’s time to make the filling. Take your all of the filling ingredients and mix well with a whisk or handheld mixer or food processor. A regular whisk works just fine.

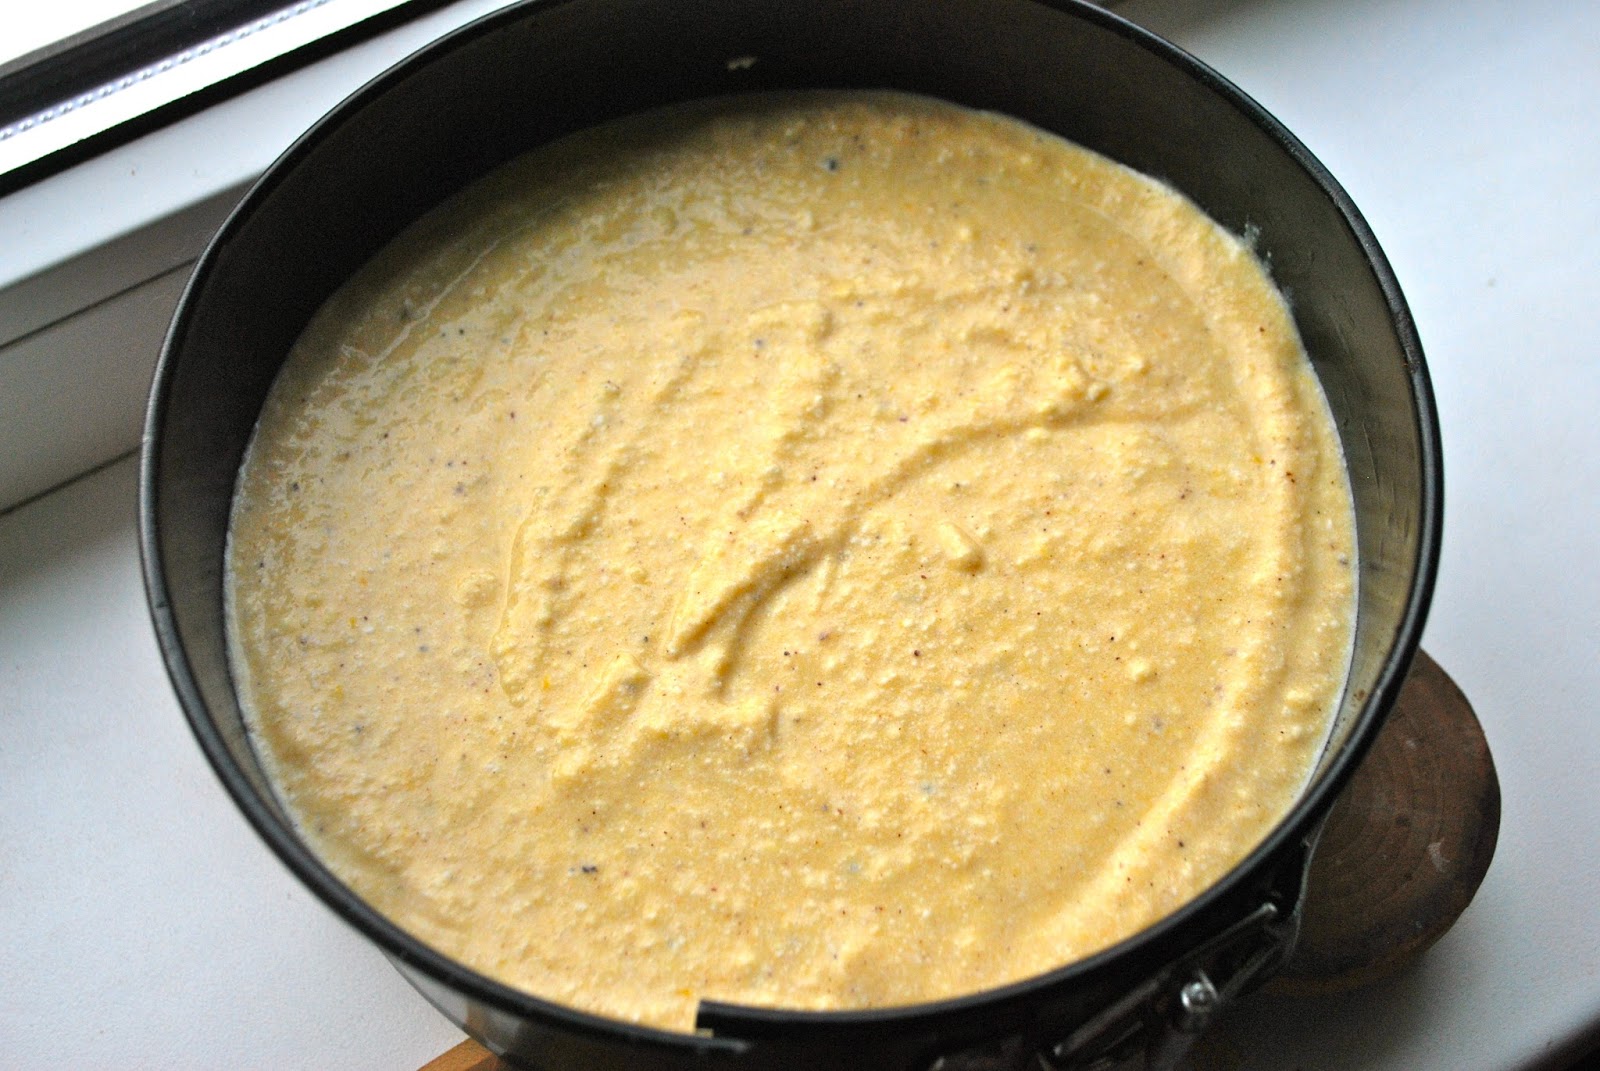
Taste the filling and add some more sweetener if needed. Pour the filling on top of the prebaked base and put your cake in the 180 degree oven. It depends on the size of the pan. If you have a 26–28 cm pan, 45 minutes might be enough. 20–22 cm would require about an hour I assume. Since my pan was really little and the filling layer was really thick, I baked mine for an hour and 15 minutes. Keep checking it after every 15 minutes or so.

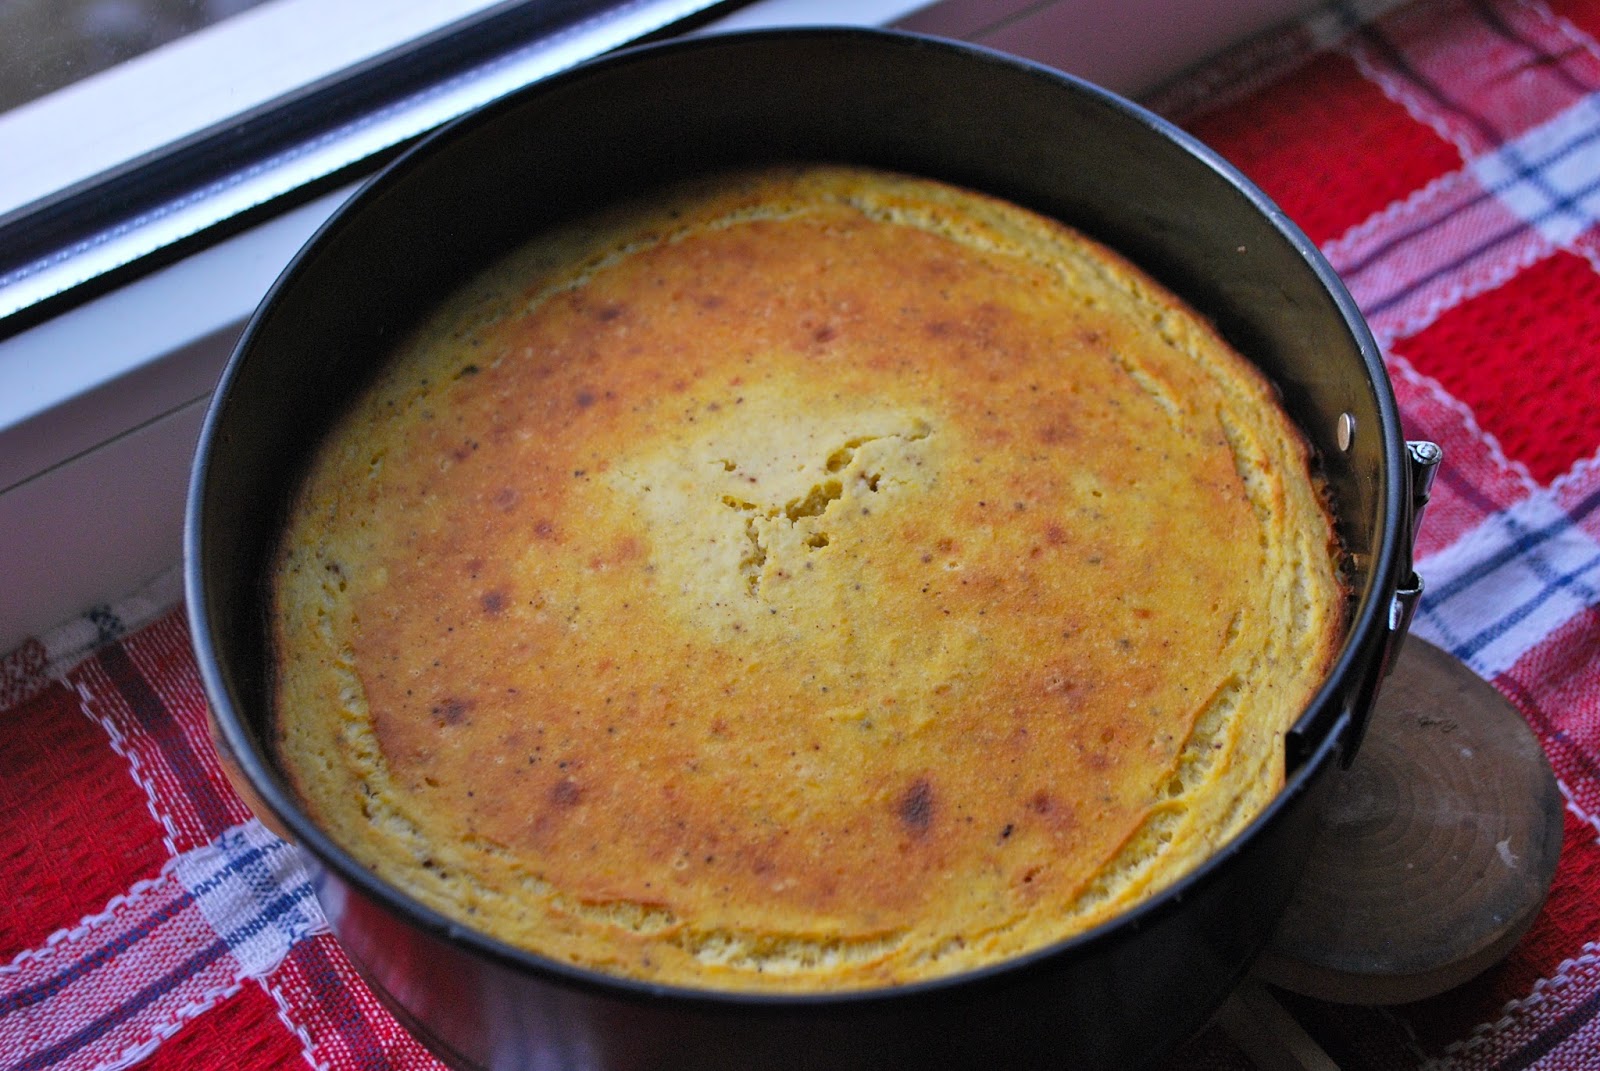
Now your cake is ready. Let it cool completely in the pan (don’t remove the outer round!) and then put it into the fridge. The longer, the better (mine was in there overnight). Before serving and decorating remove the outer round. I also removed the bottom of the pan, I had wax paper on the bottom and the cake didn’t fall apart. But you can totally leave the bottom of the pan there.

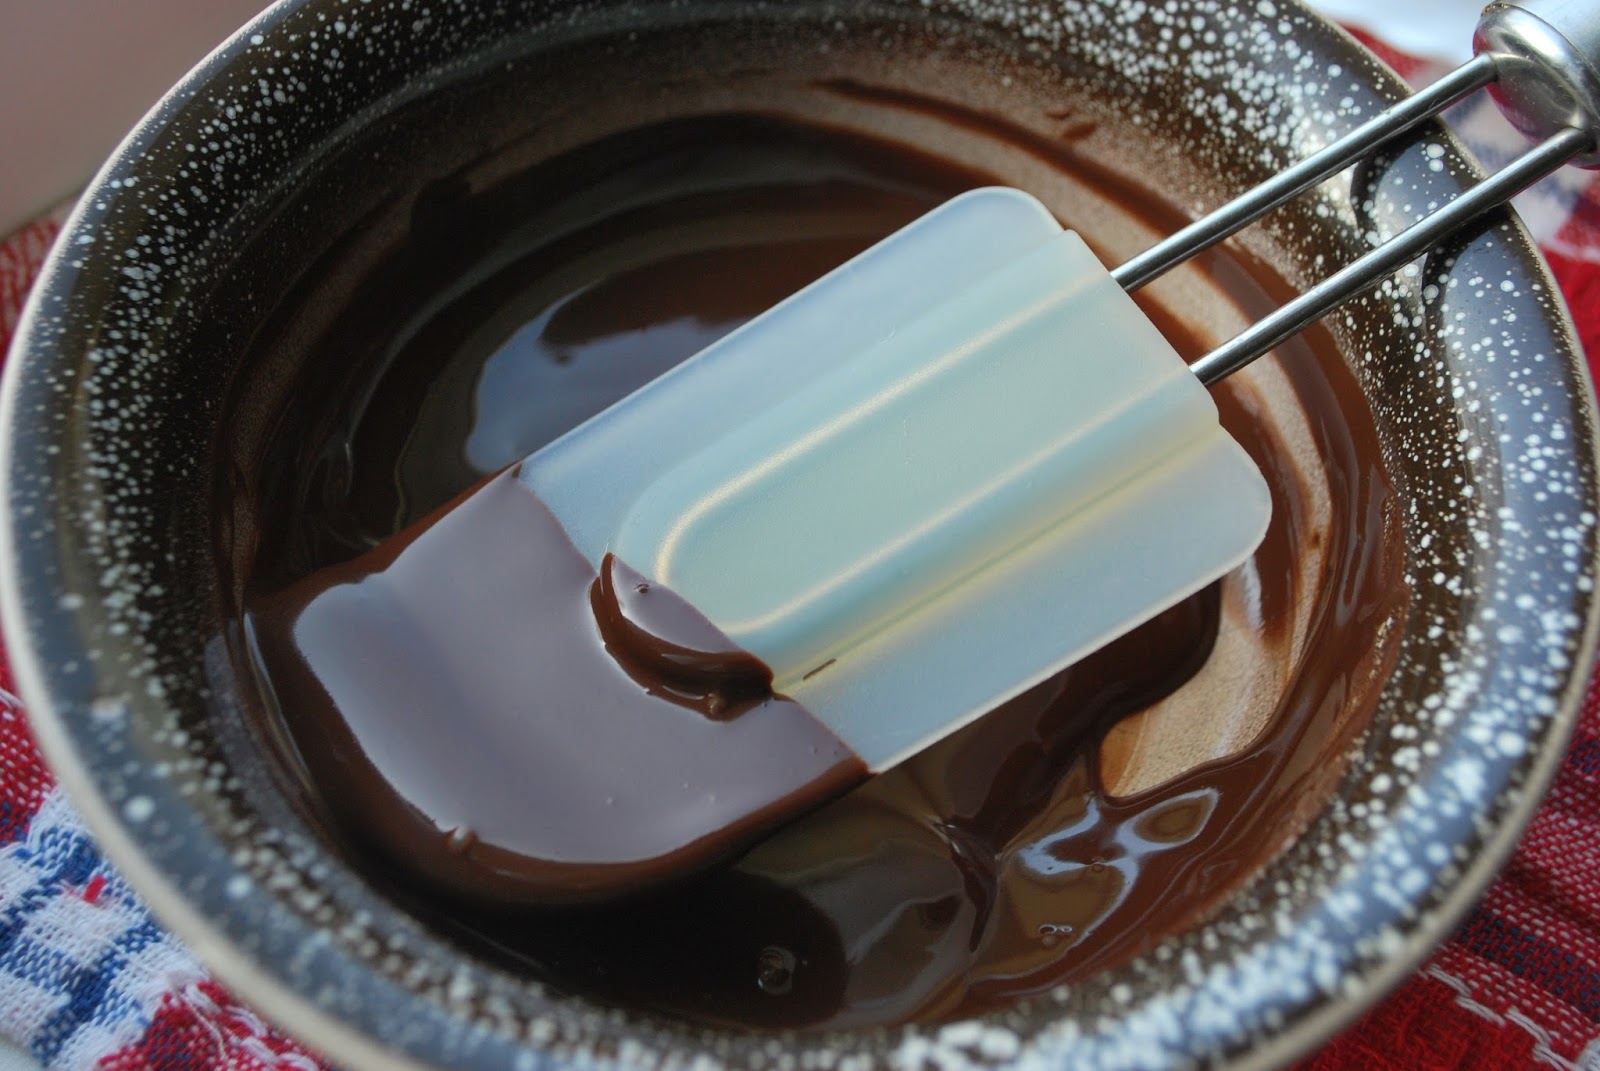
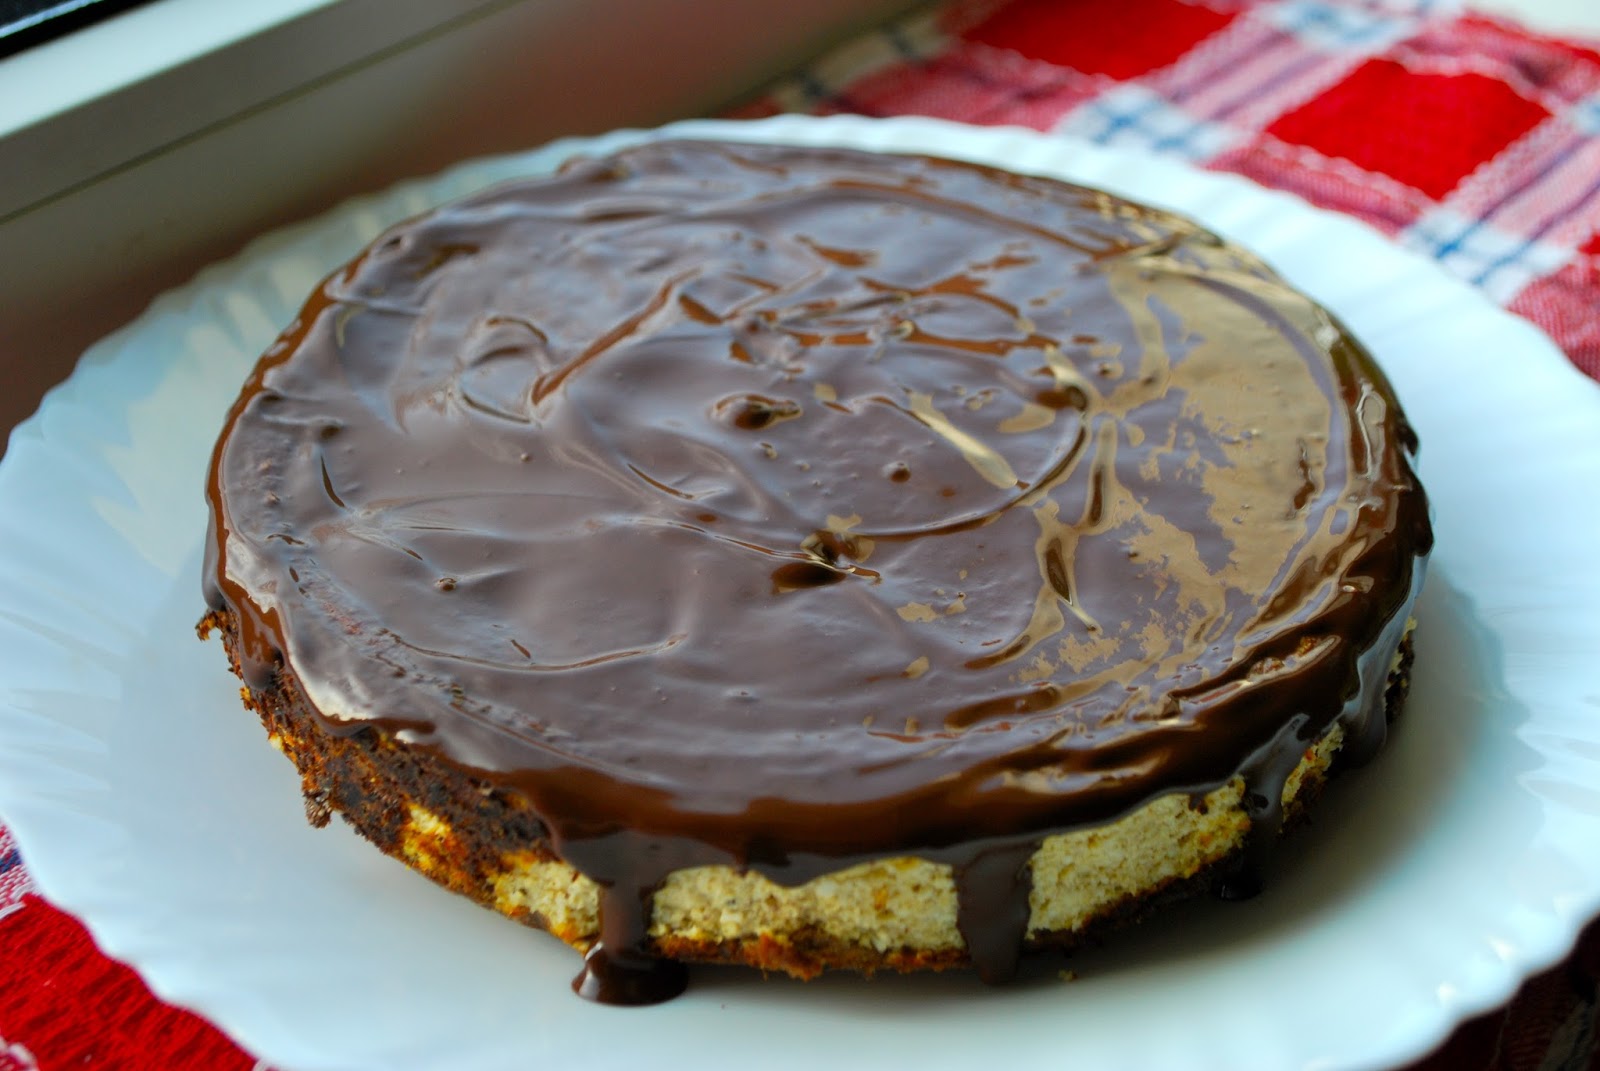
Melt your chocolate. I melted mine using the microwave, I just had to make sure I didn’t burn it and mixed it every 15–30 seconds. Then pour the chocolate on top of your cheesecake and spread it until it looks good to you. Let the chocolate set in a cooler place or fridge.
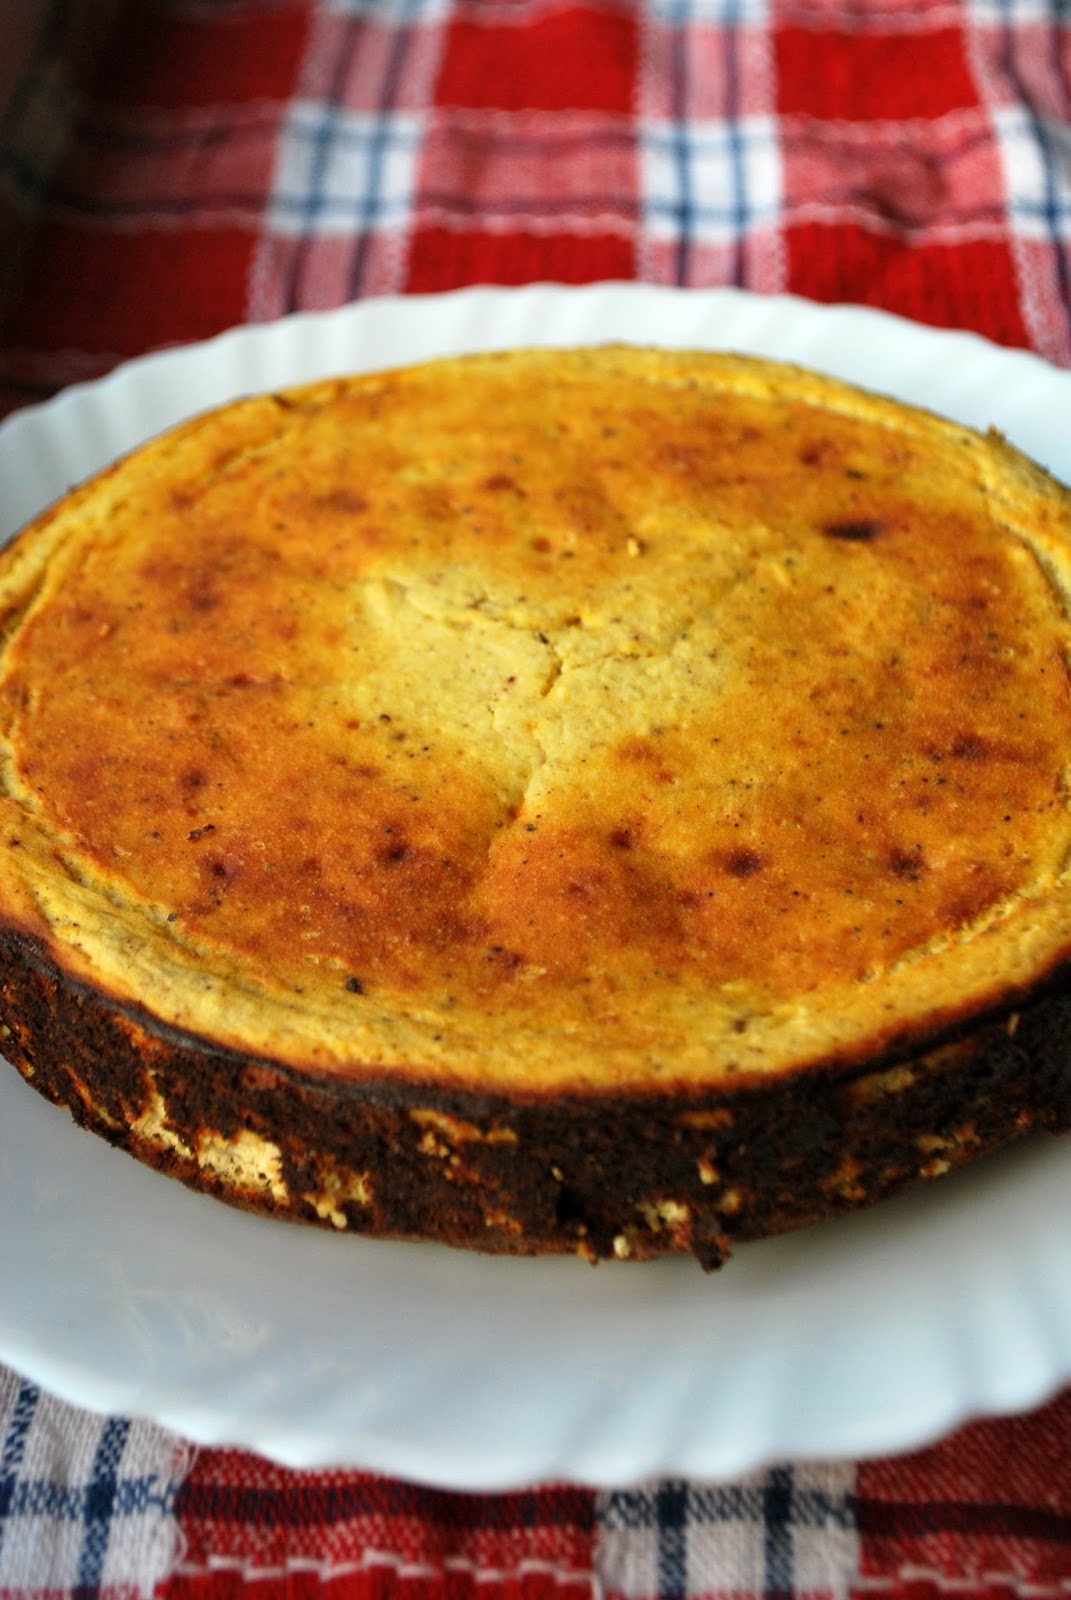
And here it is: a gorgeous cheesecake ready to be enjoyed.
What about nutrition?
The whole cake is 1589 kcal, 89 g of protein, 45 g of net carbs (fiber excluded), 118 g of fat.
If cut into 6 portions, then one portion is 265 kcal, 15 g of protein, 7,5 g of carbs, 20 g of fat.
Macronutrient ratio: 11% carbs, 22% protein, 67% fat.
The nutrition really depends on how much nuts you add to the base and what kind of chocolate and ricotta you use. It’s definitely possible to make the cake with less fat if that’s what you want, for example by using fat-free quark (rasvatu kohupiim) instead of ricotta and skipping the chocolate.
Any other suggestions?
Base recommendations according to the diameter of cake pan:
-
under 20 cm: 70–100 g of nuts
-
20–22 cm: 125–150 g of nuts
-
24–26 cm: 175–200 g of nuts
-
28 cm or bigger: 200 g of nuts or more
The amount of nuts also depends on if you want a thick or thin crust.
Bon appetit! 🙂