When I thought about what recipe to post first in 2014, I instantly knew it had to be something really spectacular and really delishious. I’m going to share a lemon cheesecake recipe that I made for New Year’s Eve. It is seriously AMAZING. As always, it’s sugar-free, grain-free, gluten-free and guilt-free.

What do you need?

For the base:
-
100 grams of hazelnuts (amount depends on your cakepan, for more information look at the end of the recipe)
-
5 grams of cinnamon
-
1 egg
-
50 grams of protein powder
-
water (if needed)
-
sweetener
For the filling:
-
500–600 grams of cream cheese (I used 400+150 grams of Farmi 30% cream cheese)
-
3 eggs
-
juice and zest of one lemon (about 50–60 grams of juice)
-
sweetener
Extras:
-
a springform baking pan (I used a 17 cm in diametre)
-
an oven
-
a fridge
How to make it?
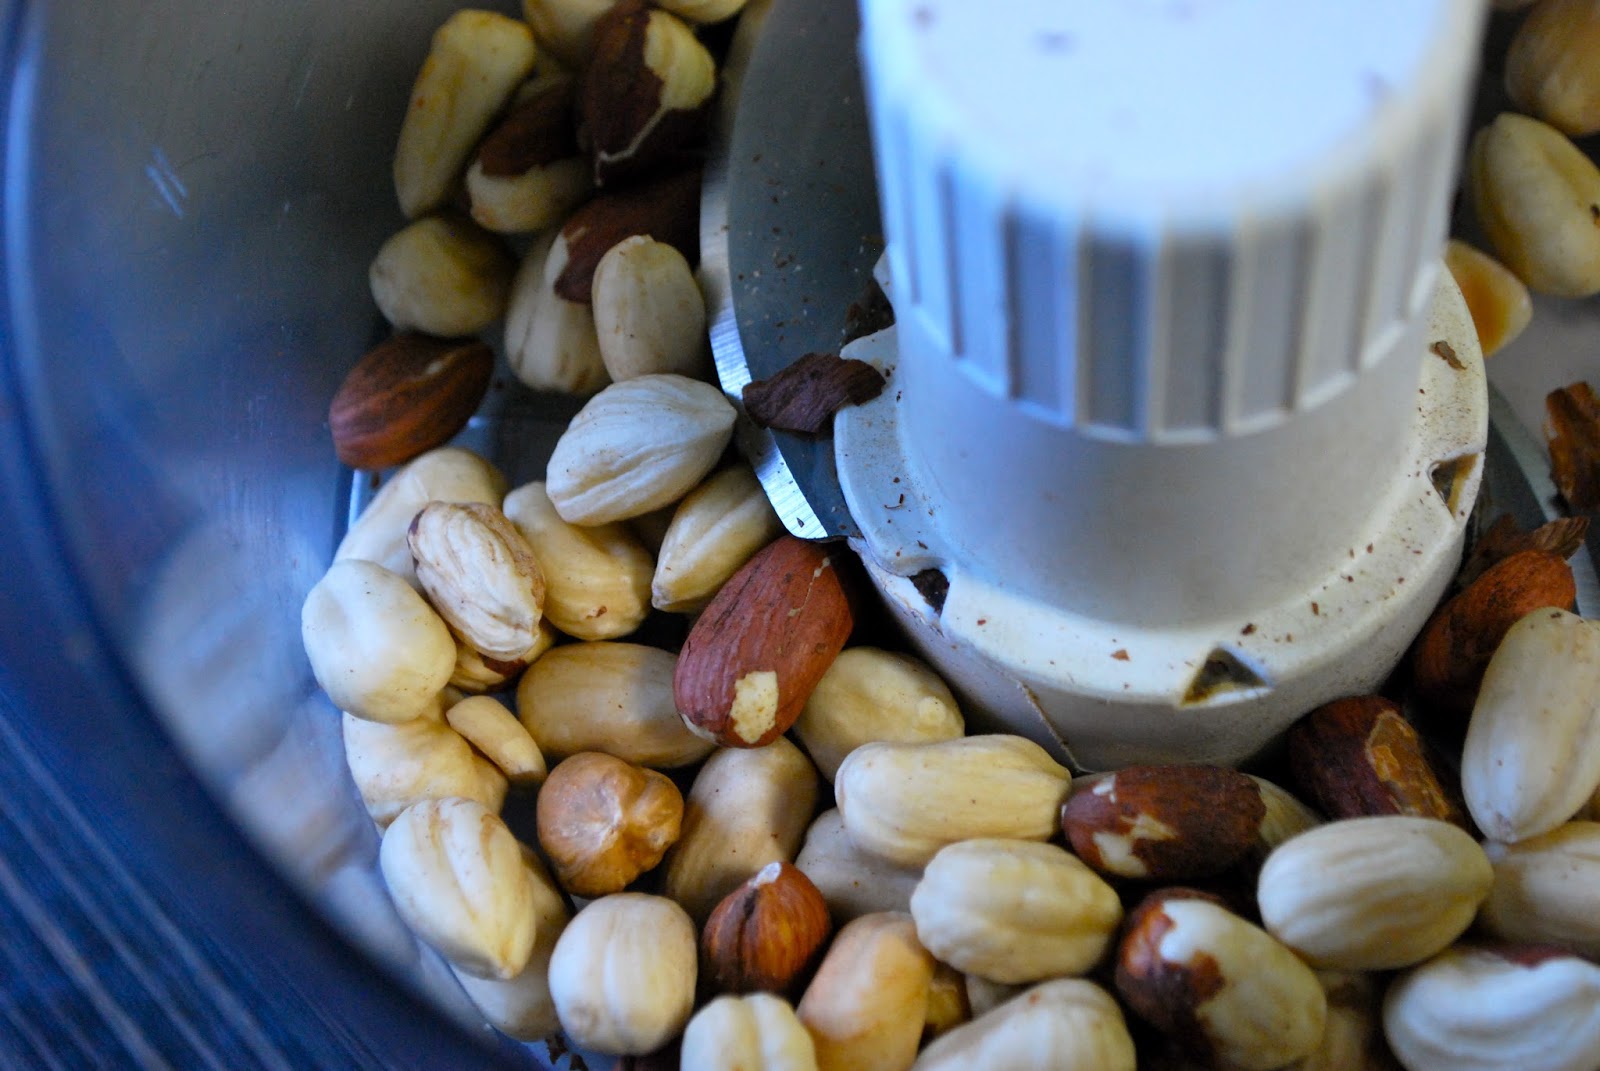
First of all, roast the nuts. For that heat your oven to 200 degrees Celsius, pour nuts into a pan and dry roast them for about 10 minutes or until the little skins start to come off and nuts become fragrant. I bought my hazelnuts already roasted and skipped that step.
Turn the oven to 180 degrees, you’ll need the oven soon.
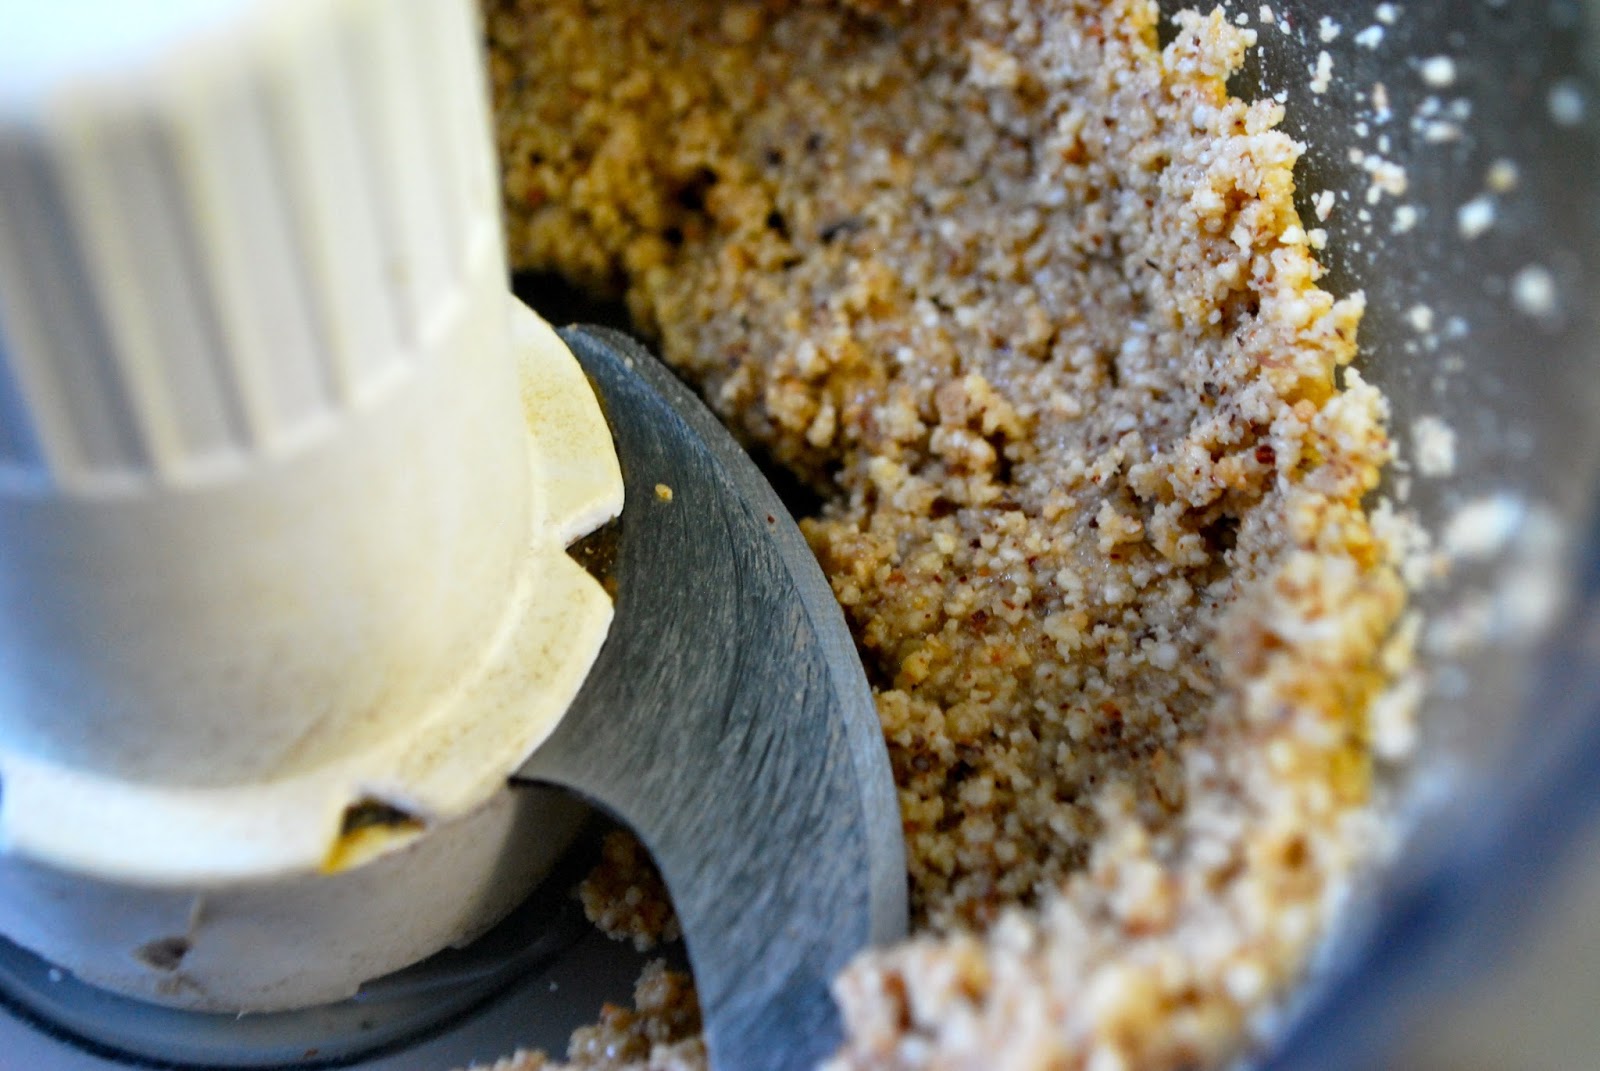
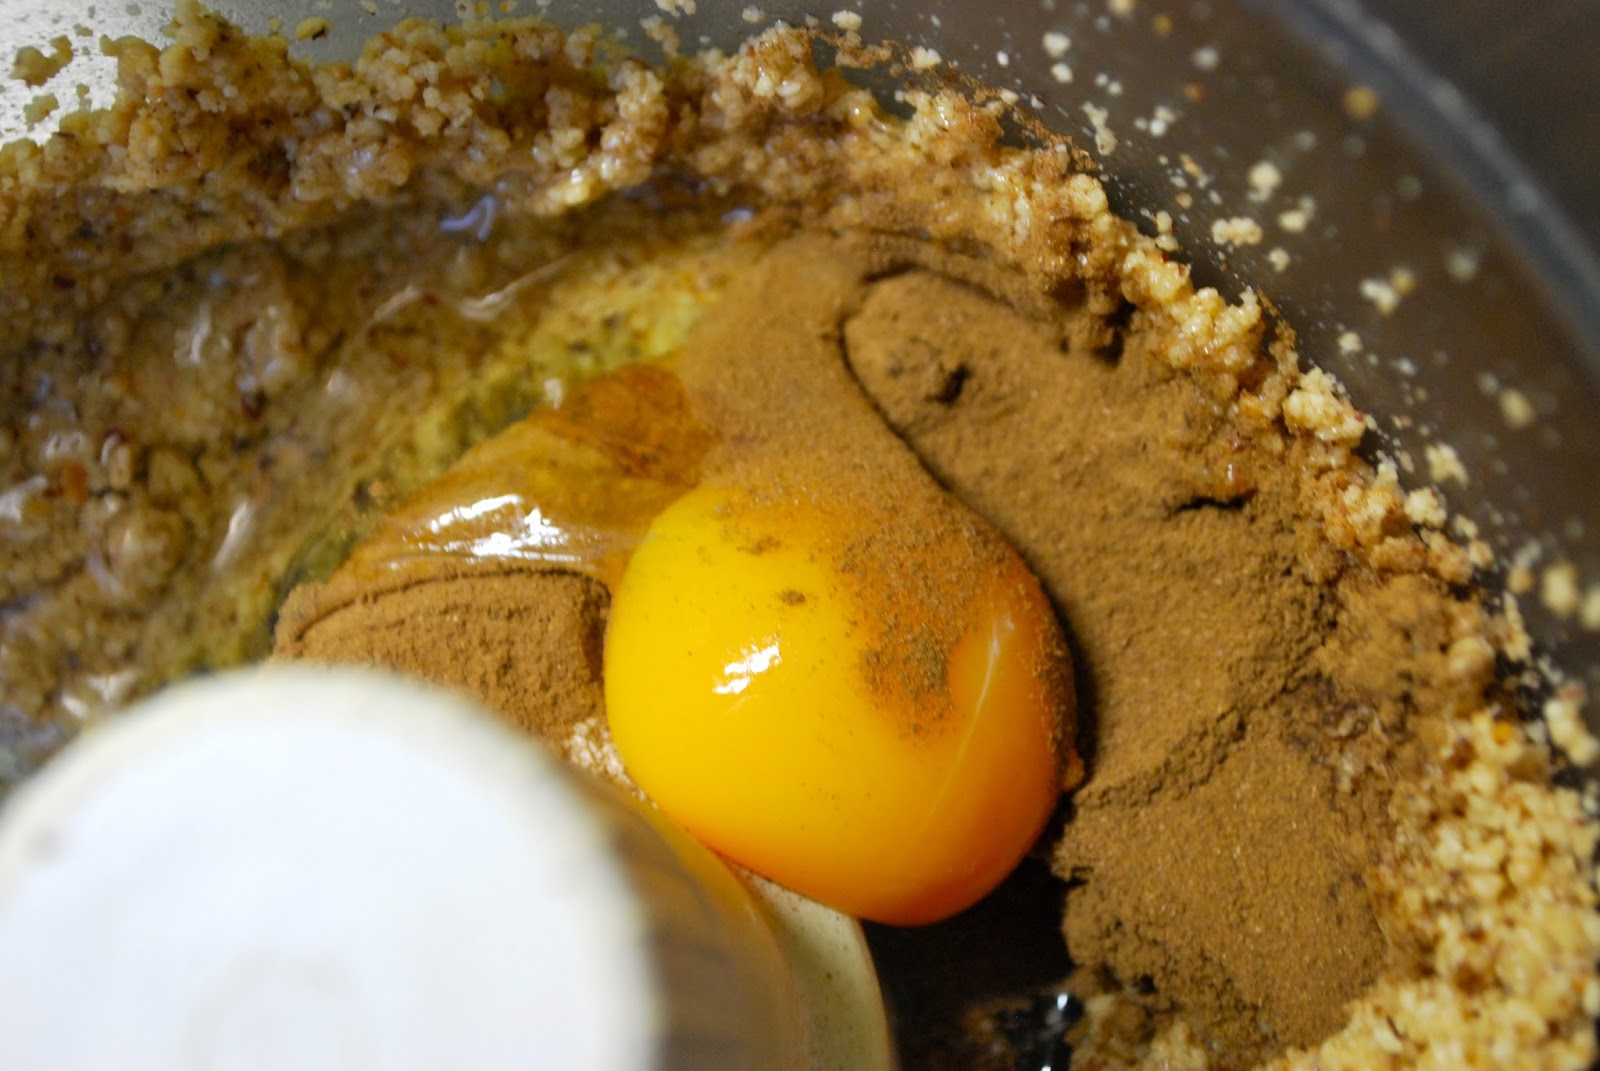
Now let the nuts cool a little and them blitz them up in a blender or food processor until nice and fine. Then add the egg, cinnamon and sweetener. Then you have a batter that looks like this:

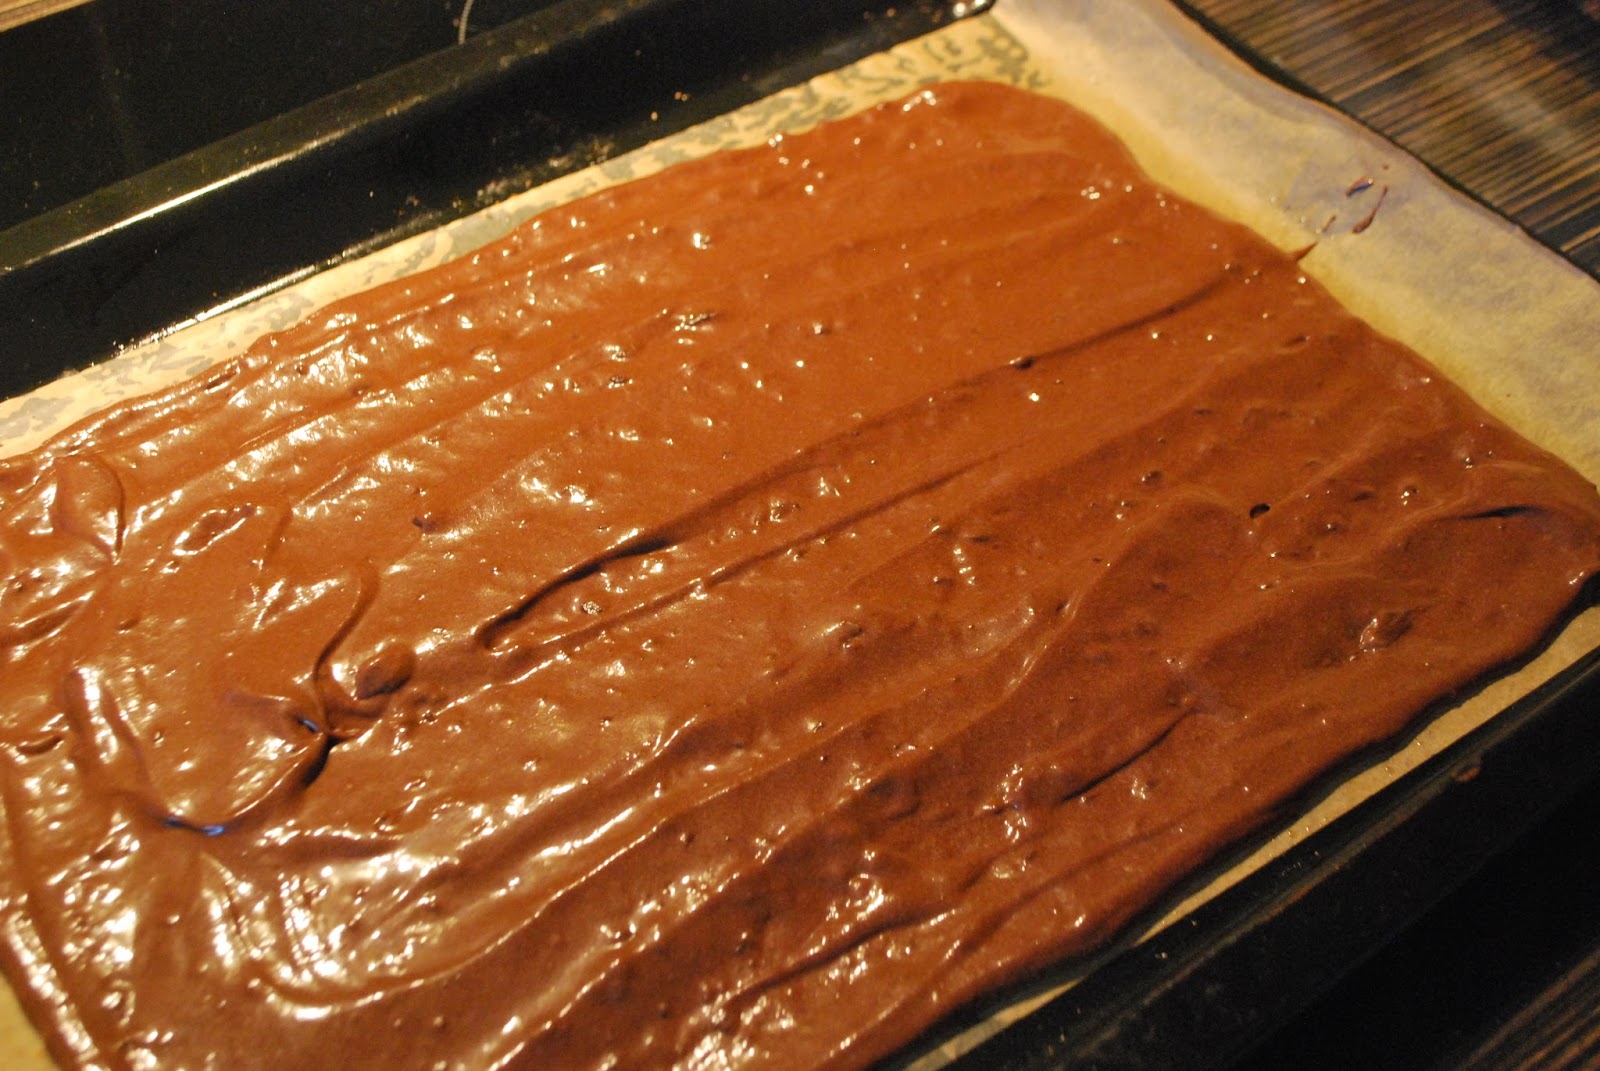
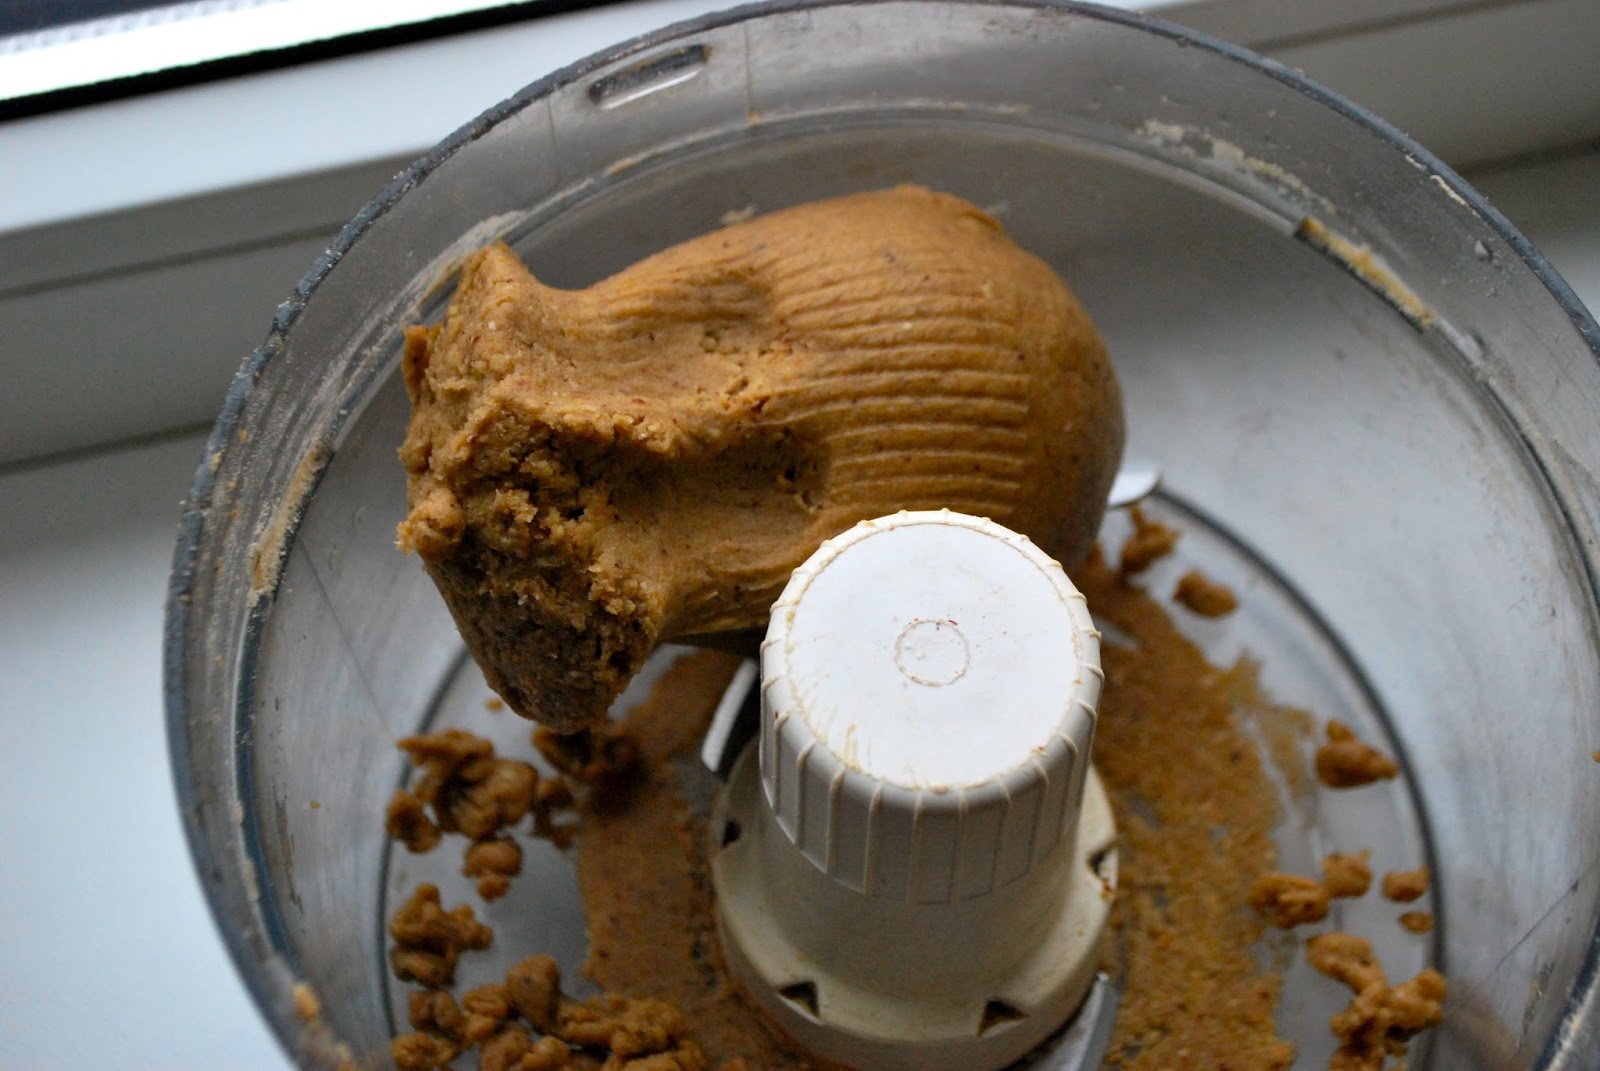
Add in protein powder. First try adding 25 grams, if the batter seems too wet, add more. I added in total 50 grams. If you add too much by accident, add a touch of water and it will be just fine. That’s what I did. My batter ended up looking like this:
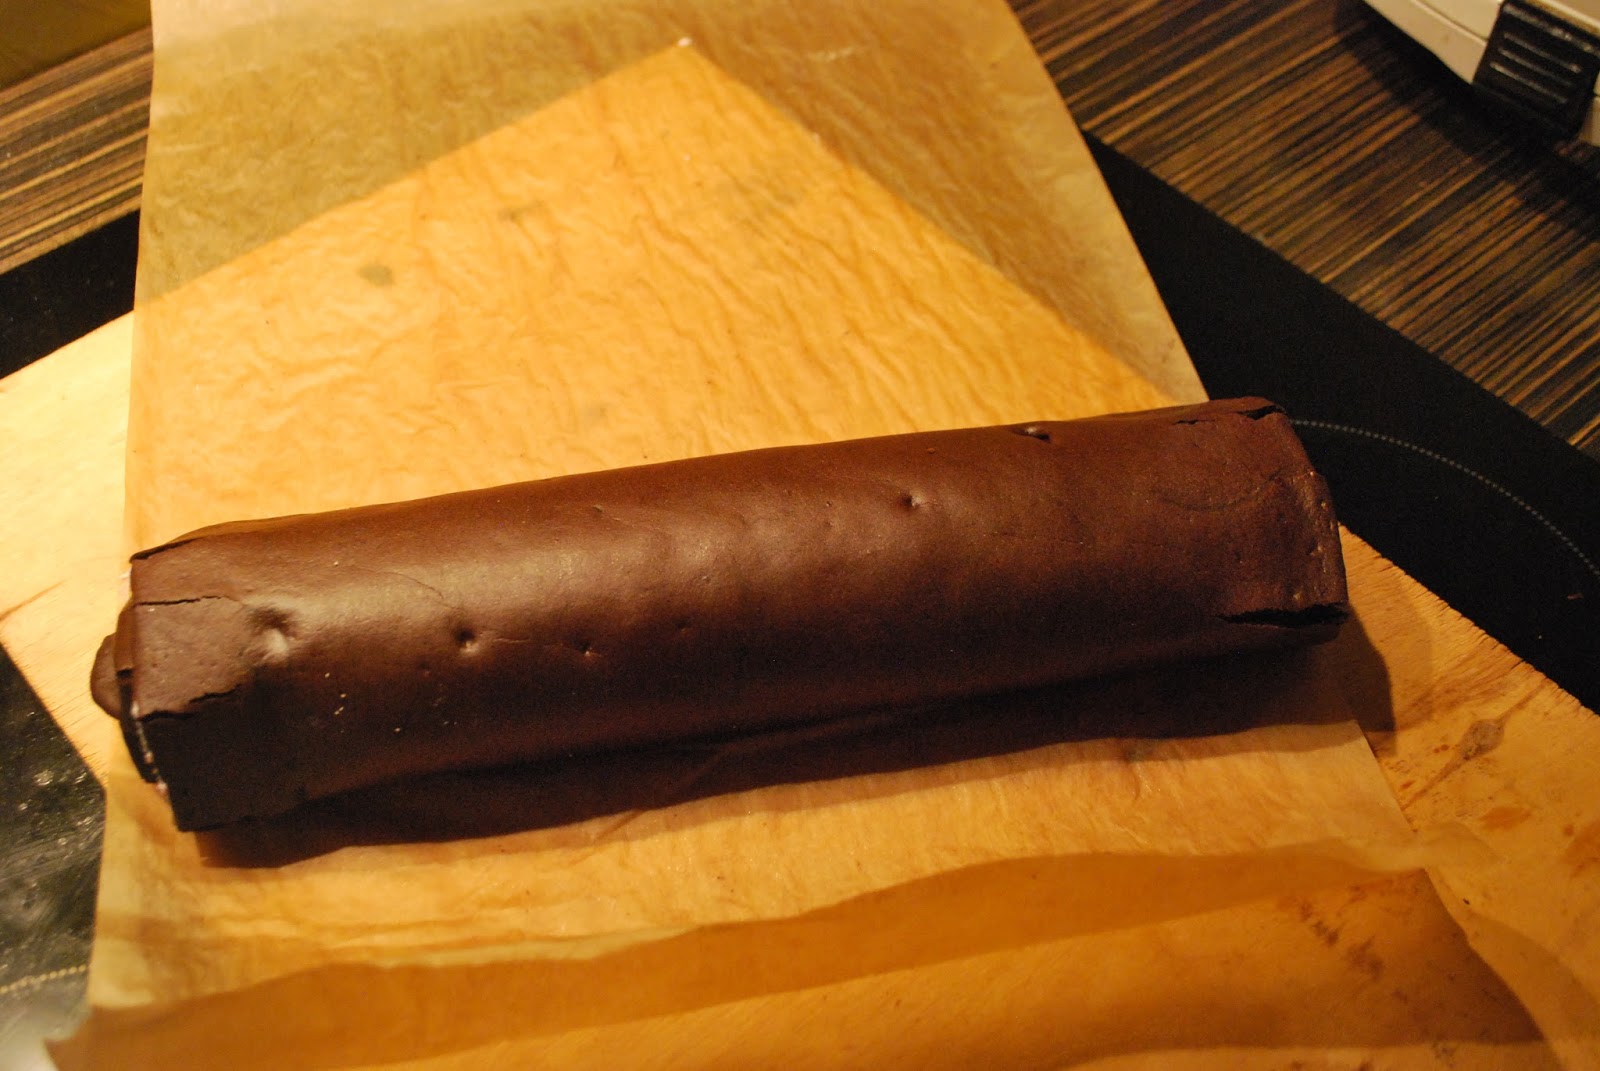
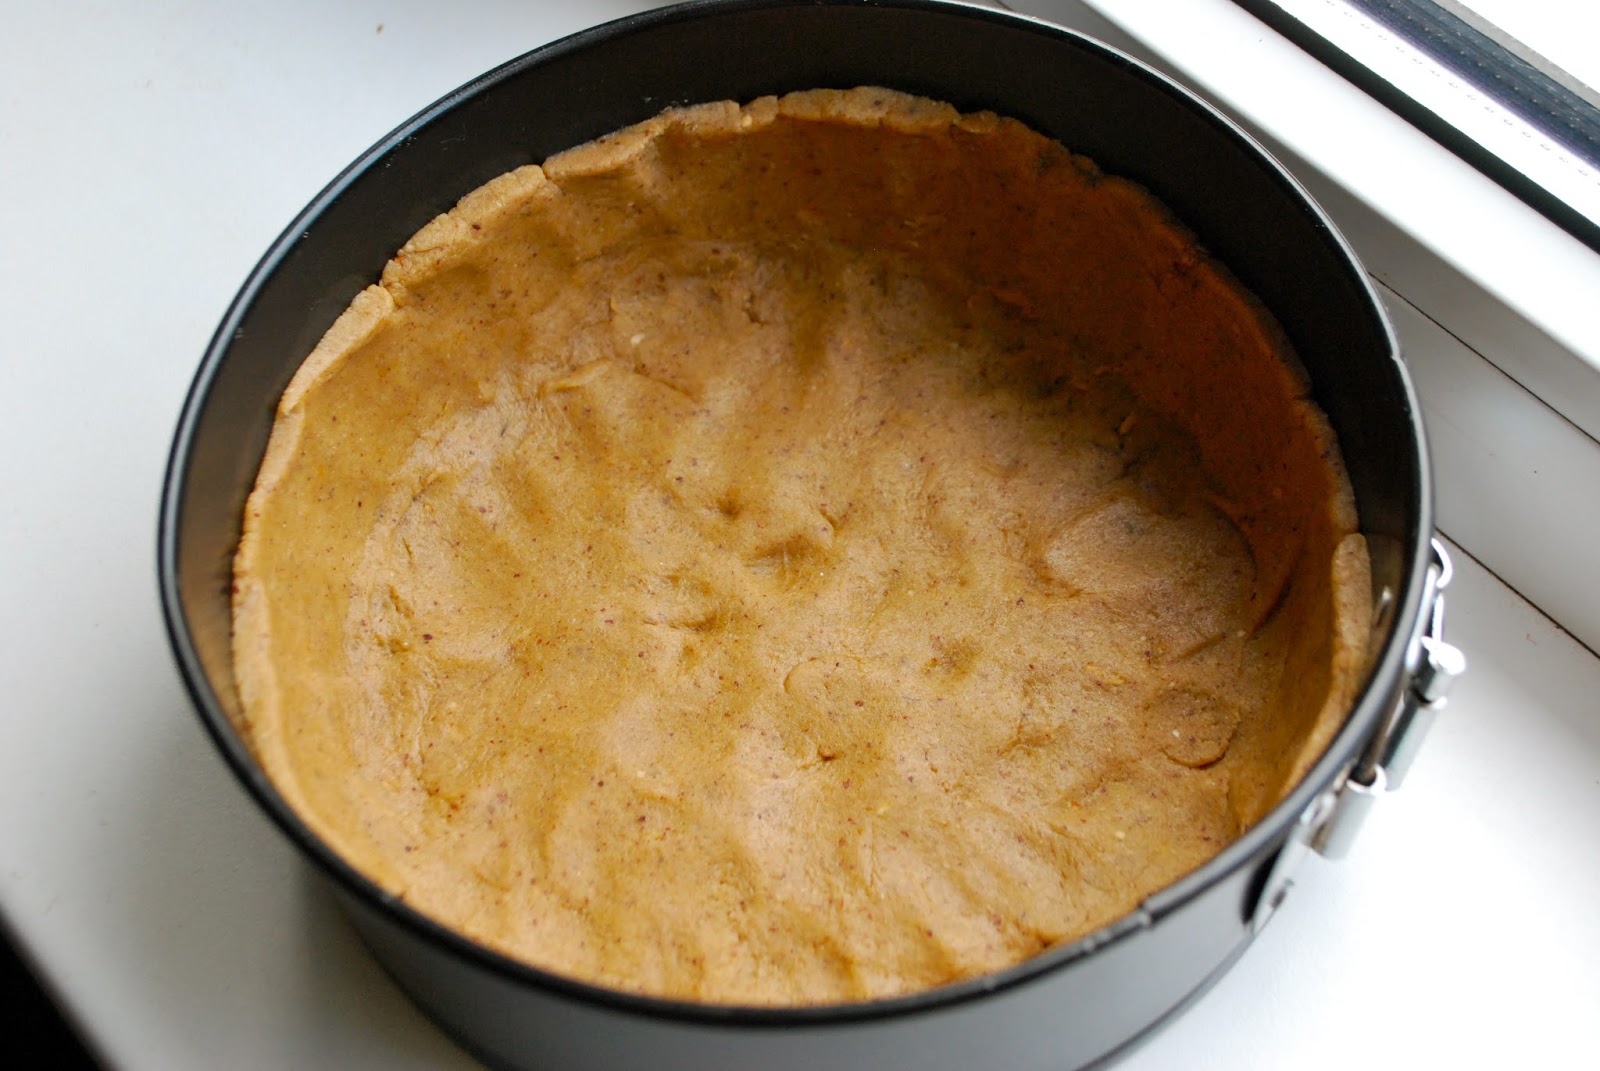
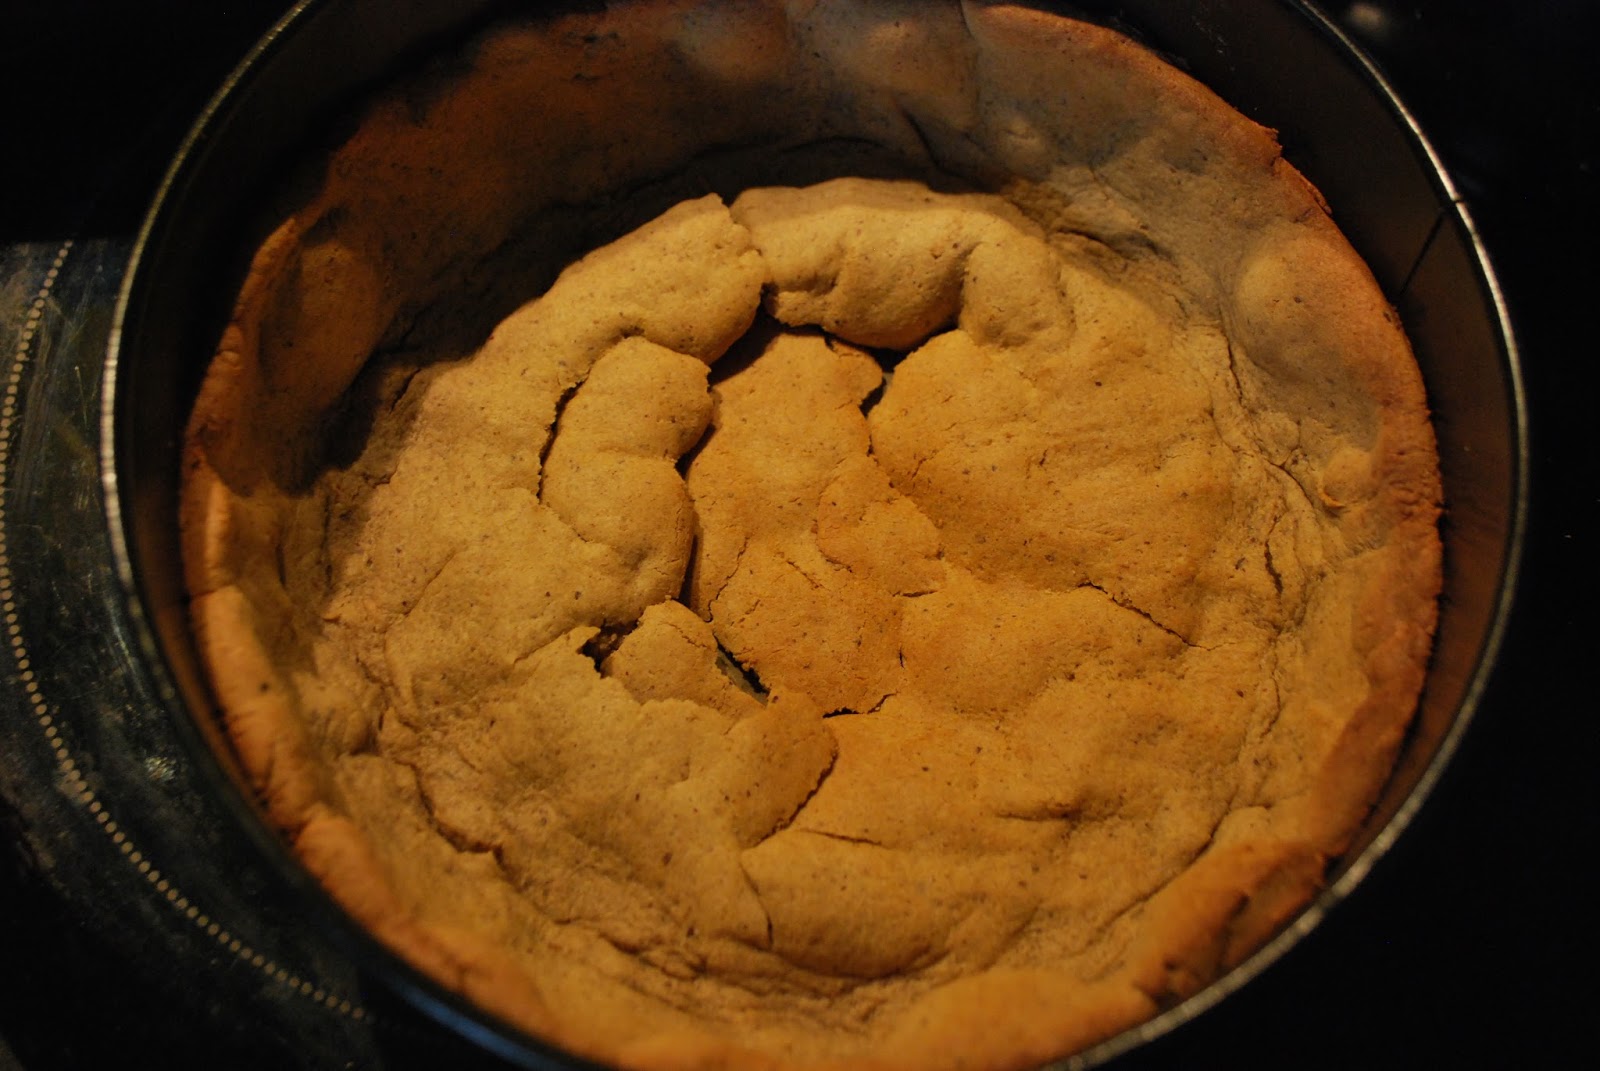
Now push the batter into your cakepan. Don’t forget to punch little holes in he base with a fork. I forgot and the base puffed up a bit too much.
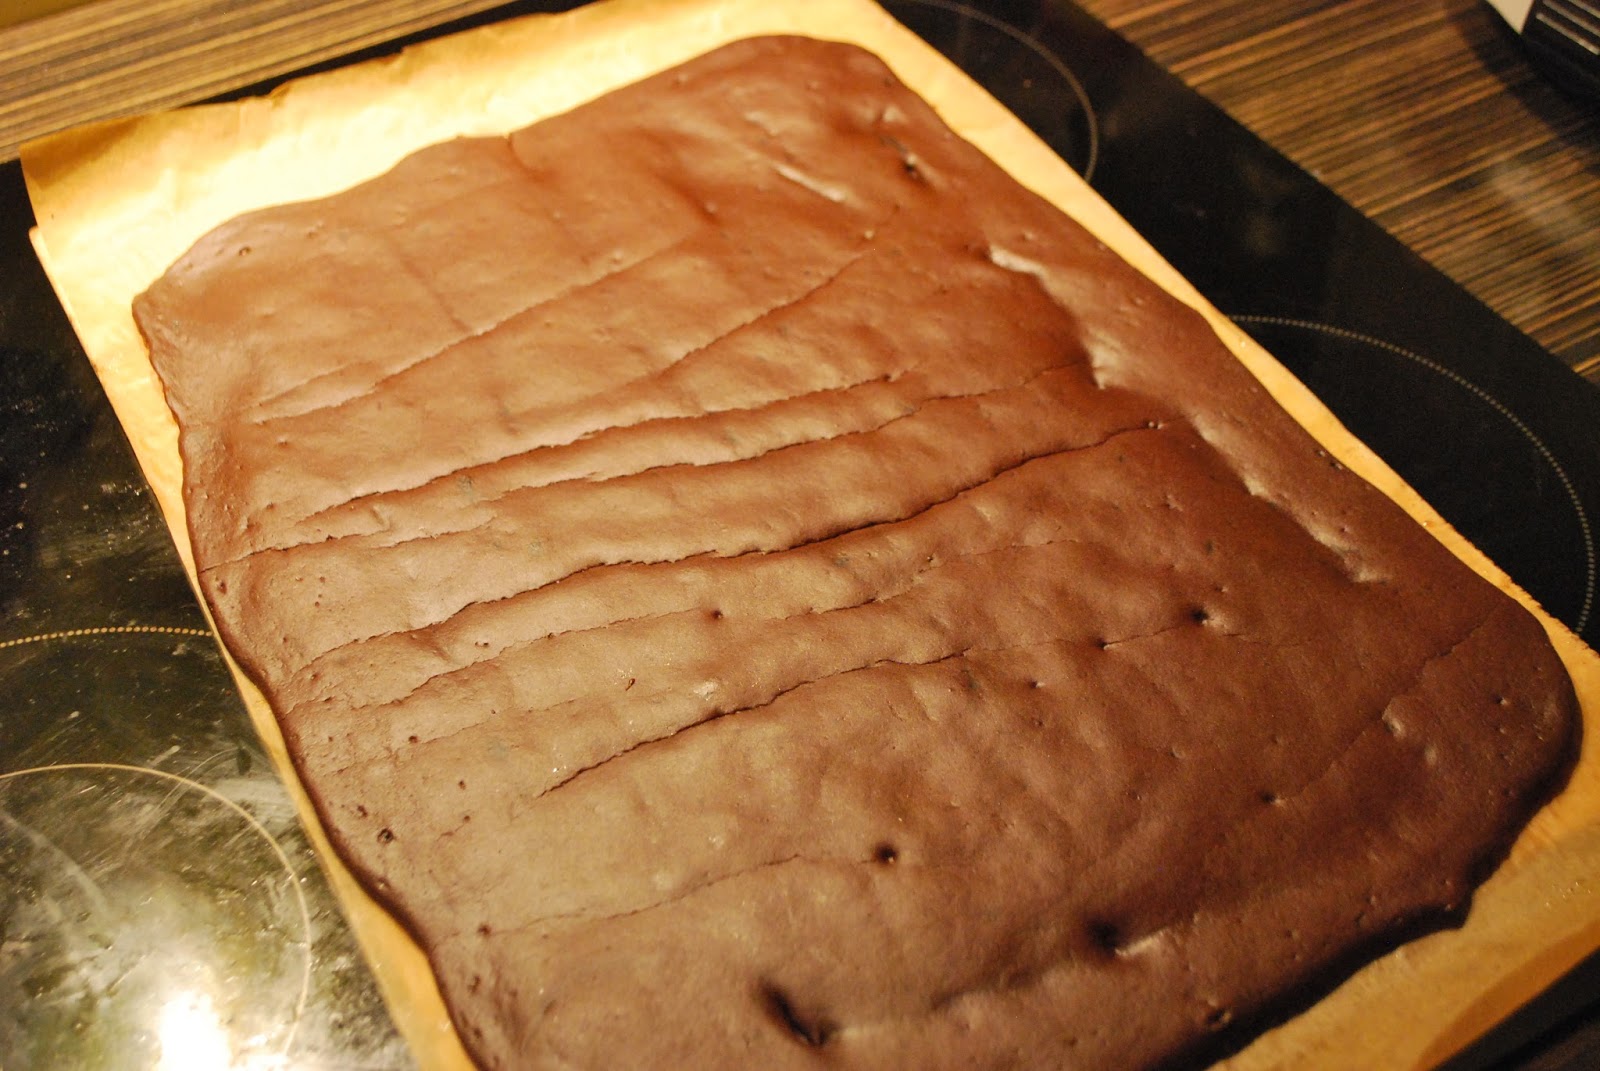
Bake the base of the cheesecake in the oven for about 10 minutes. Take it out of the oven and put aside.
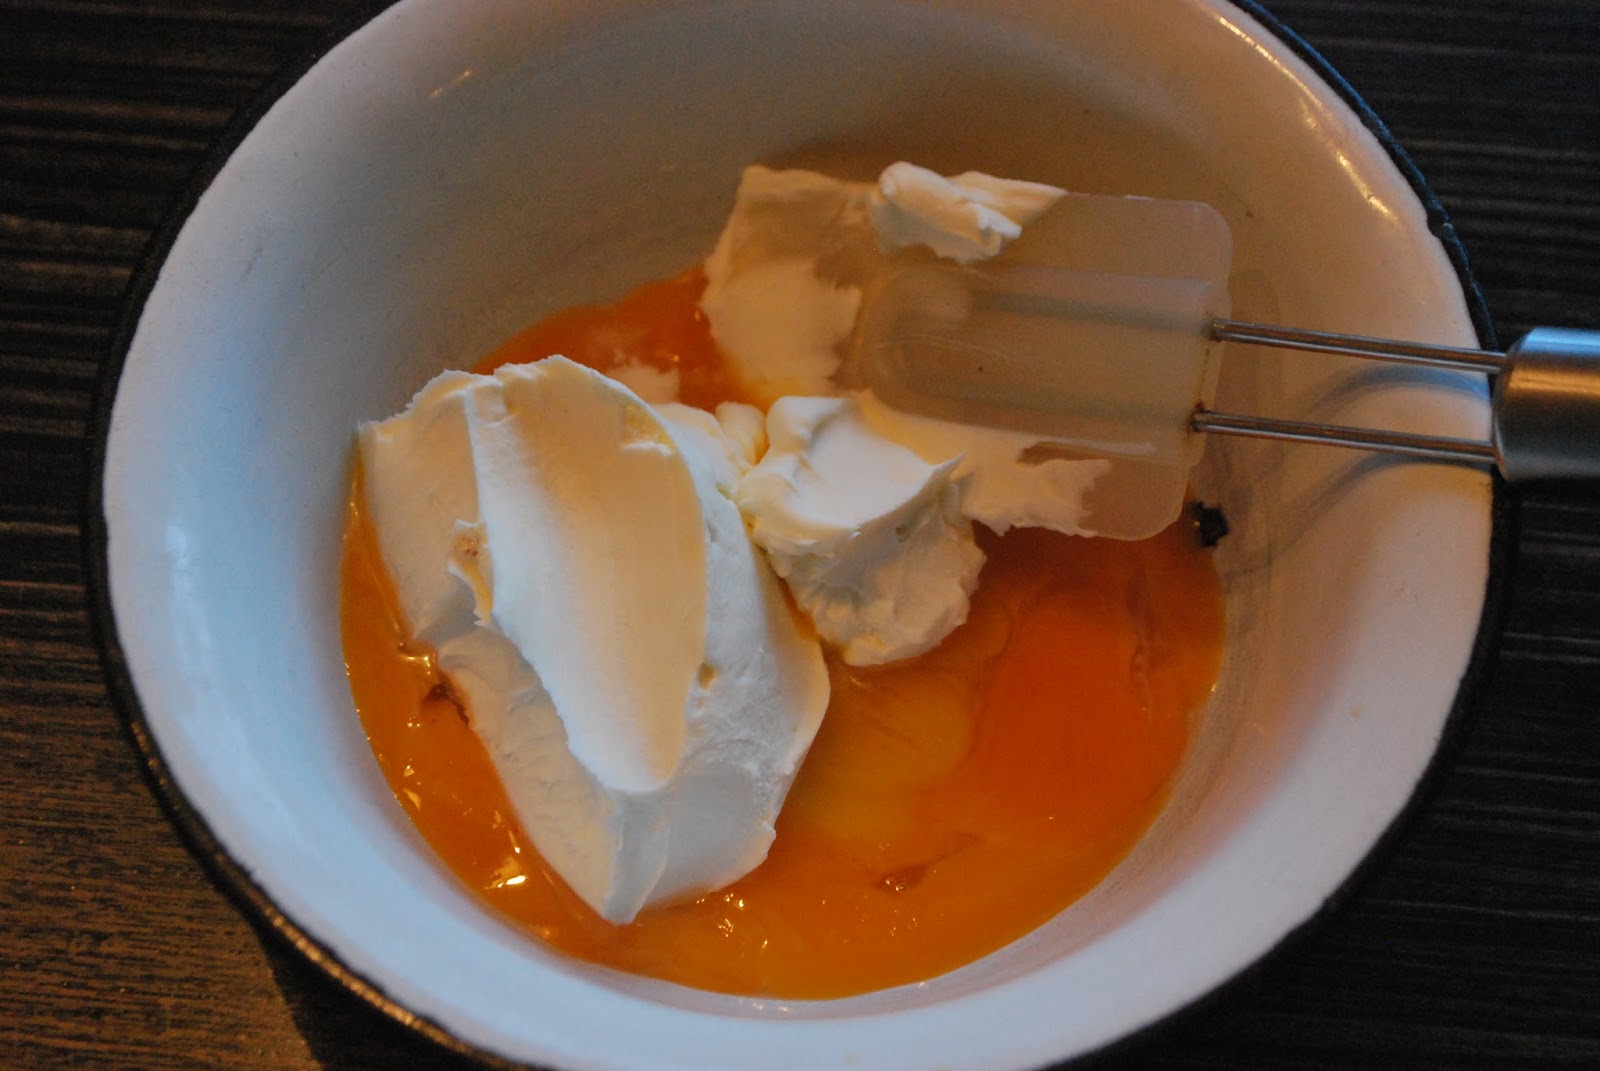
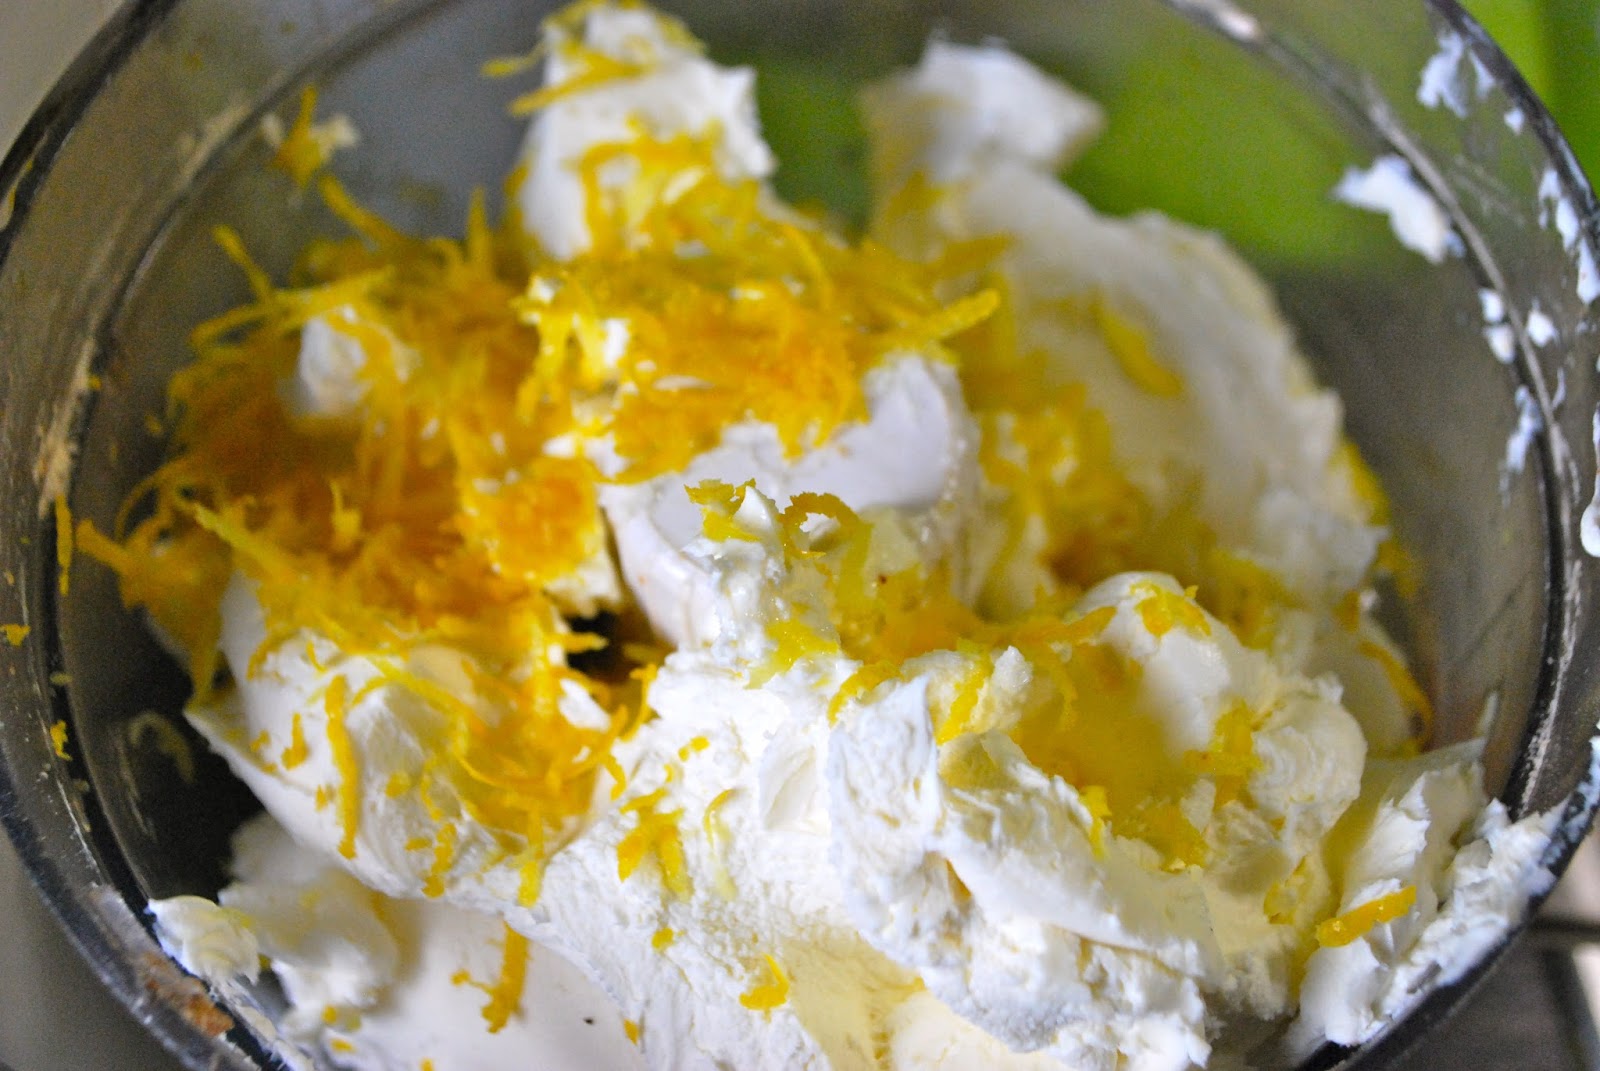
Now it’s time to make the filling. Take your cream cheese, eggs, sweetener, lemon juice and zest and mix well with a whisk or handheld mixer or food processor.
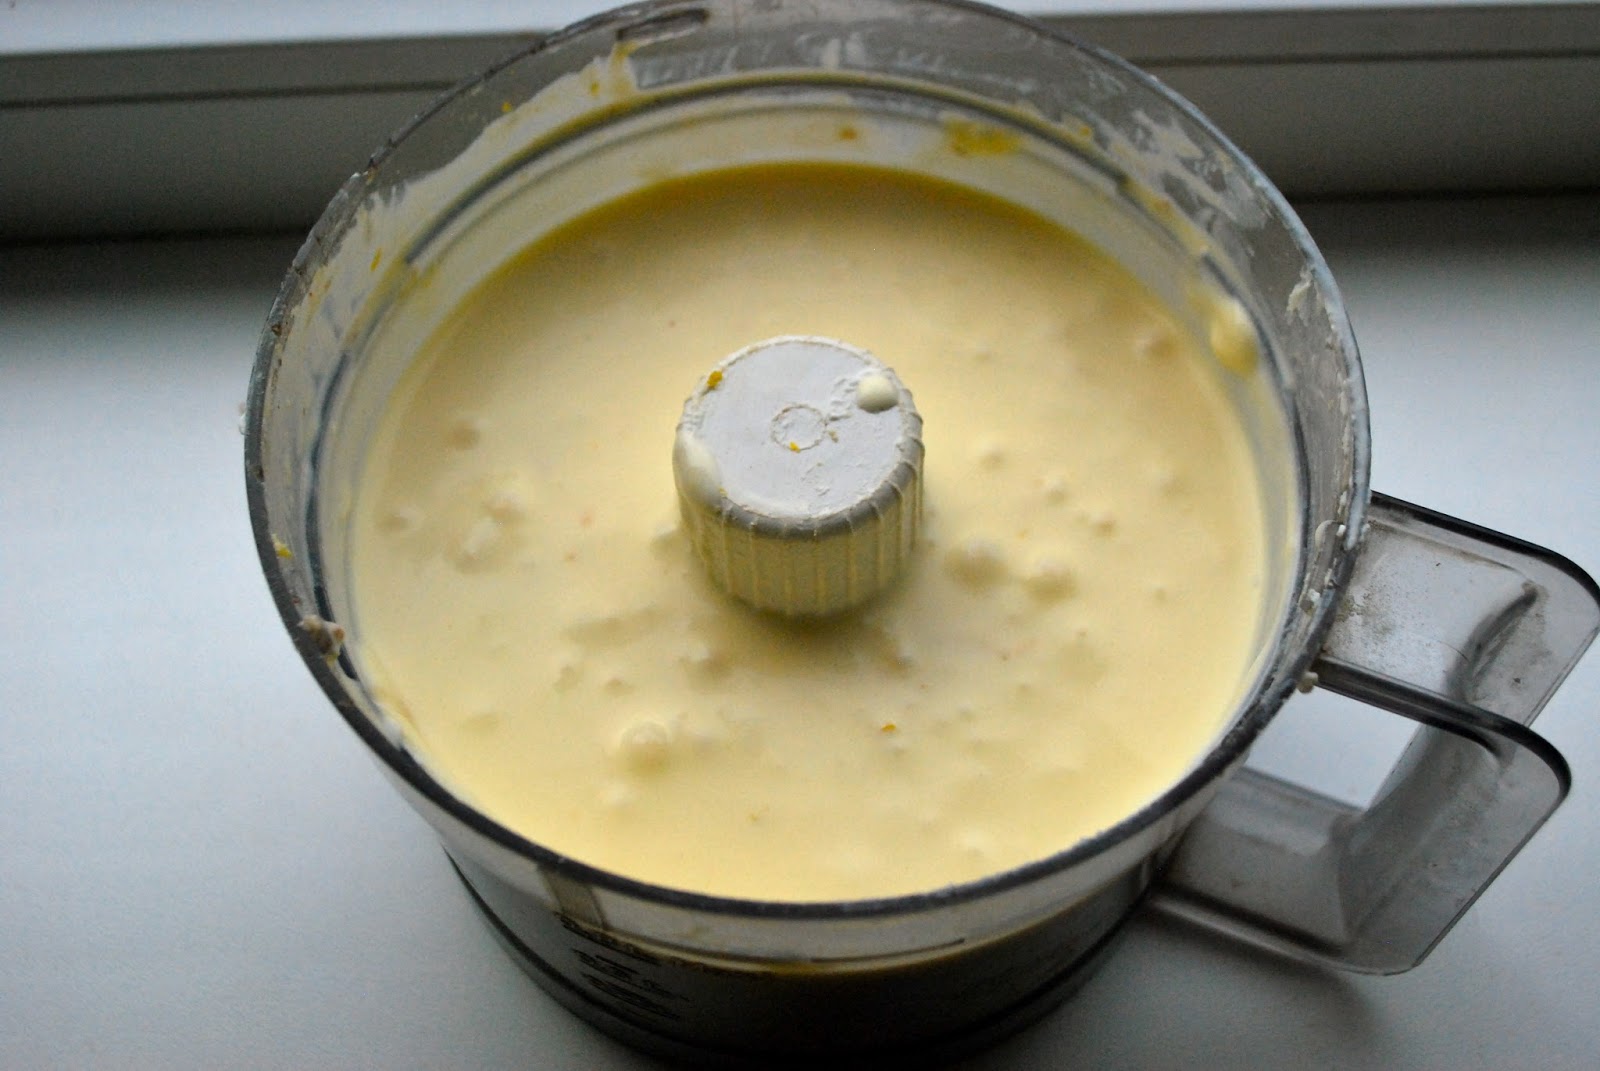
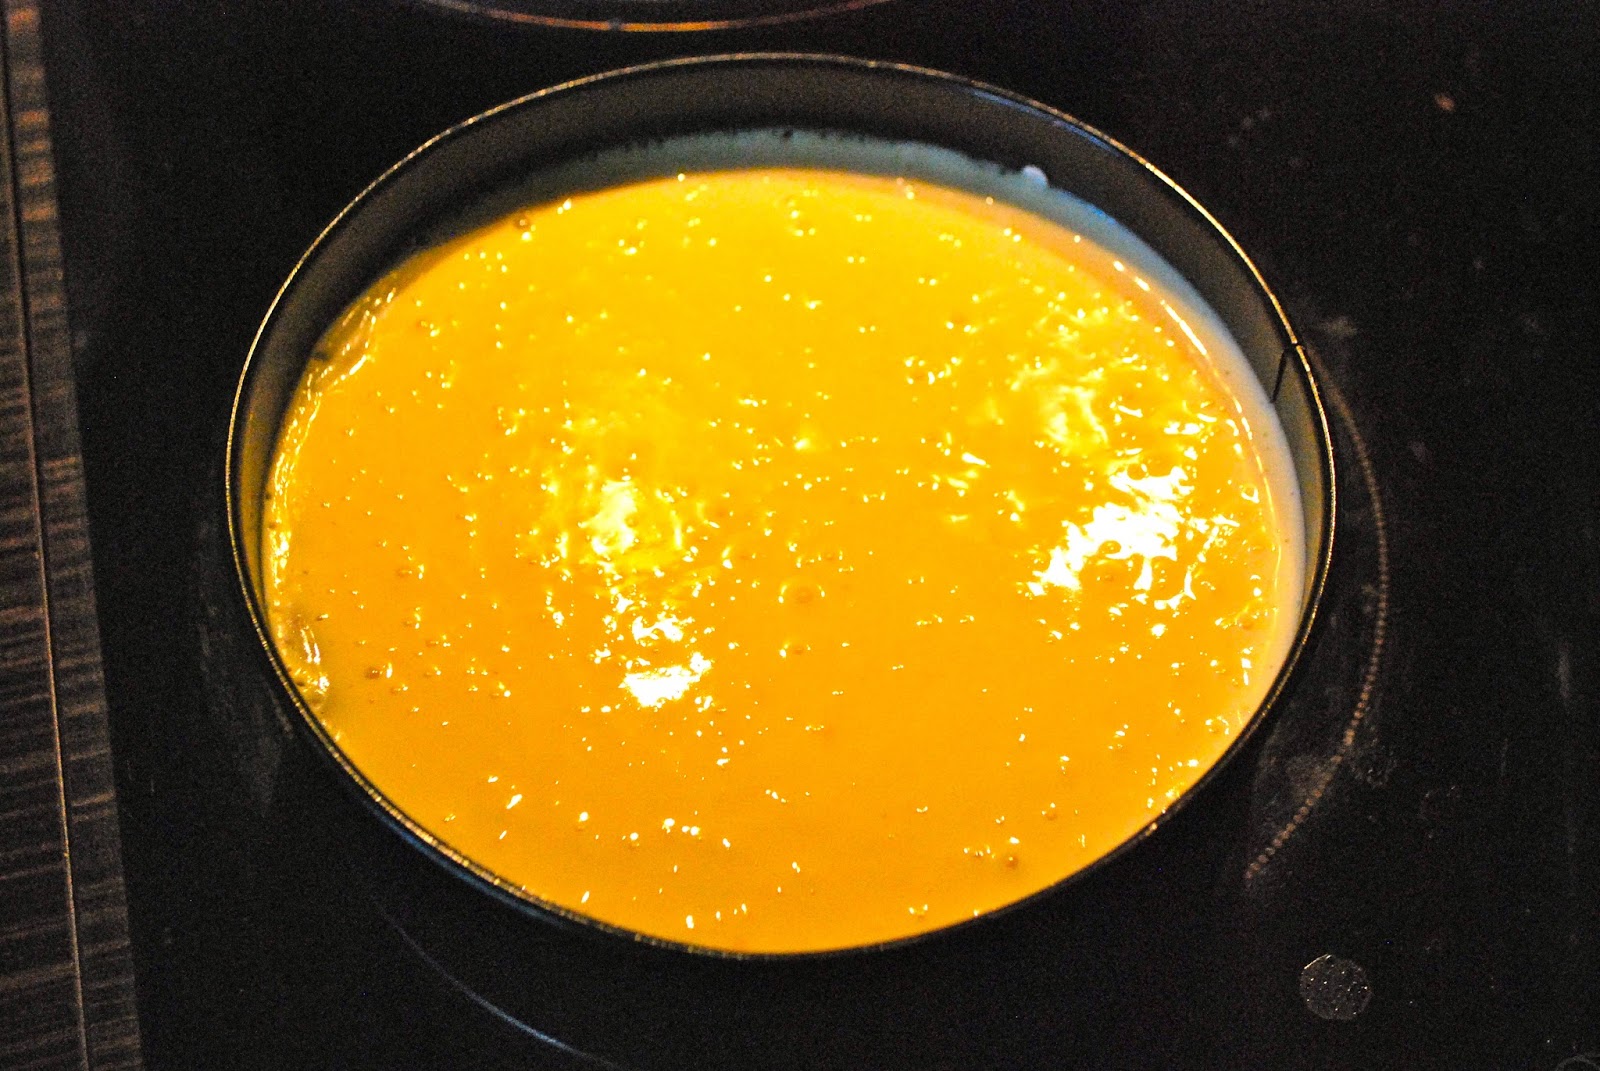
Taste the filling and add some more sweetener if needed. Next pour the filling on top of the prebaked base and put your cake in the 180 degree oven. It depends on the size of the pan. If you have a 26–28 cm pan, 45 minutes might be enough. 20–22 cm would require about an hour I assume. Since my pan was really little and the filling layer was really thick, I baked mine for an hour and 15 minutes. Bake it until the filling seems to be set.
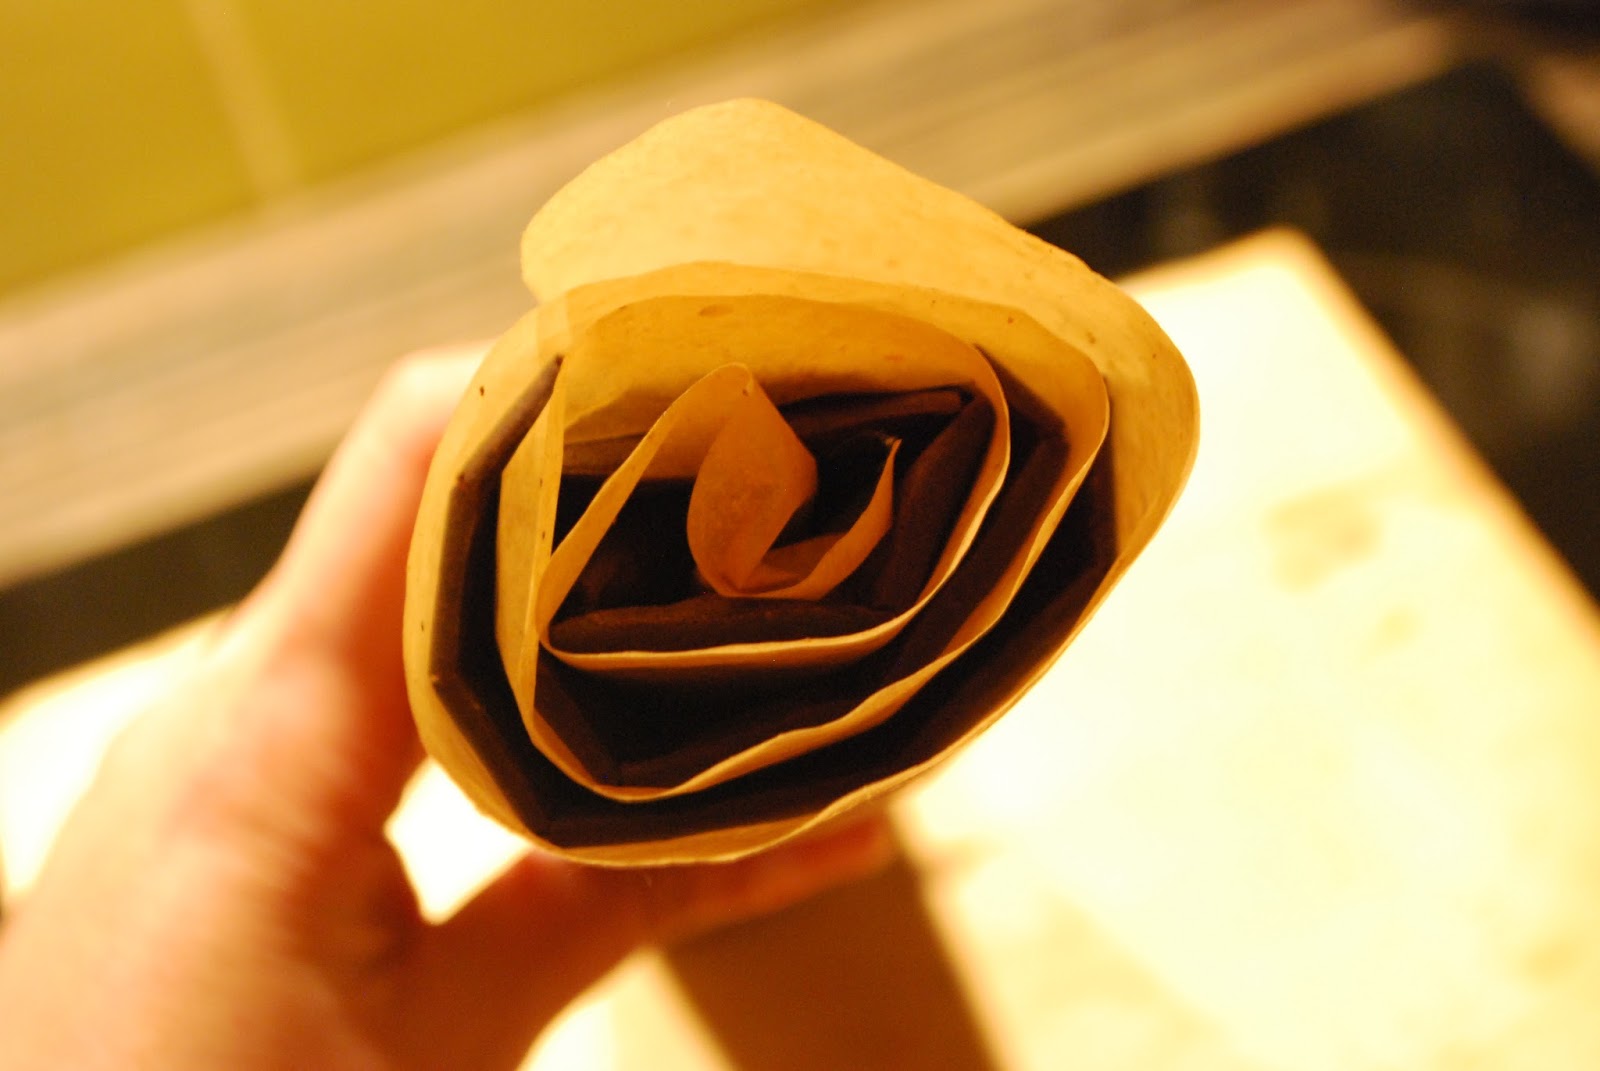
Now your cake is ready. Let it cool completely in the pan (don’t remove the outer round!) and then put it into the fridge. The longer, the better (mine was in there overnight). Before serving and decorating remove the outer round. I also removed the bottom of the pan, I had waxpaper on the bottom and the cake didn’t fall apart. But you can totally leave the bottom of the pan there.
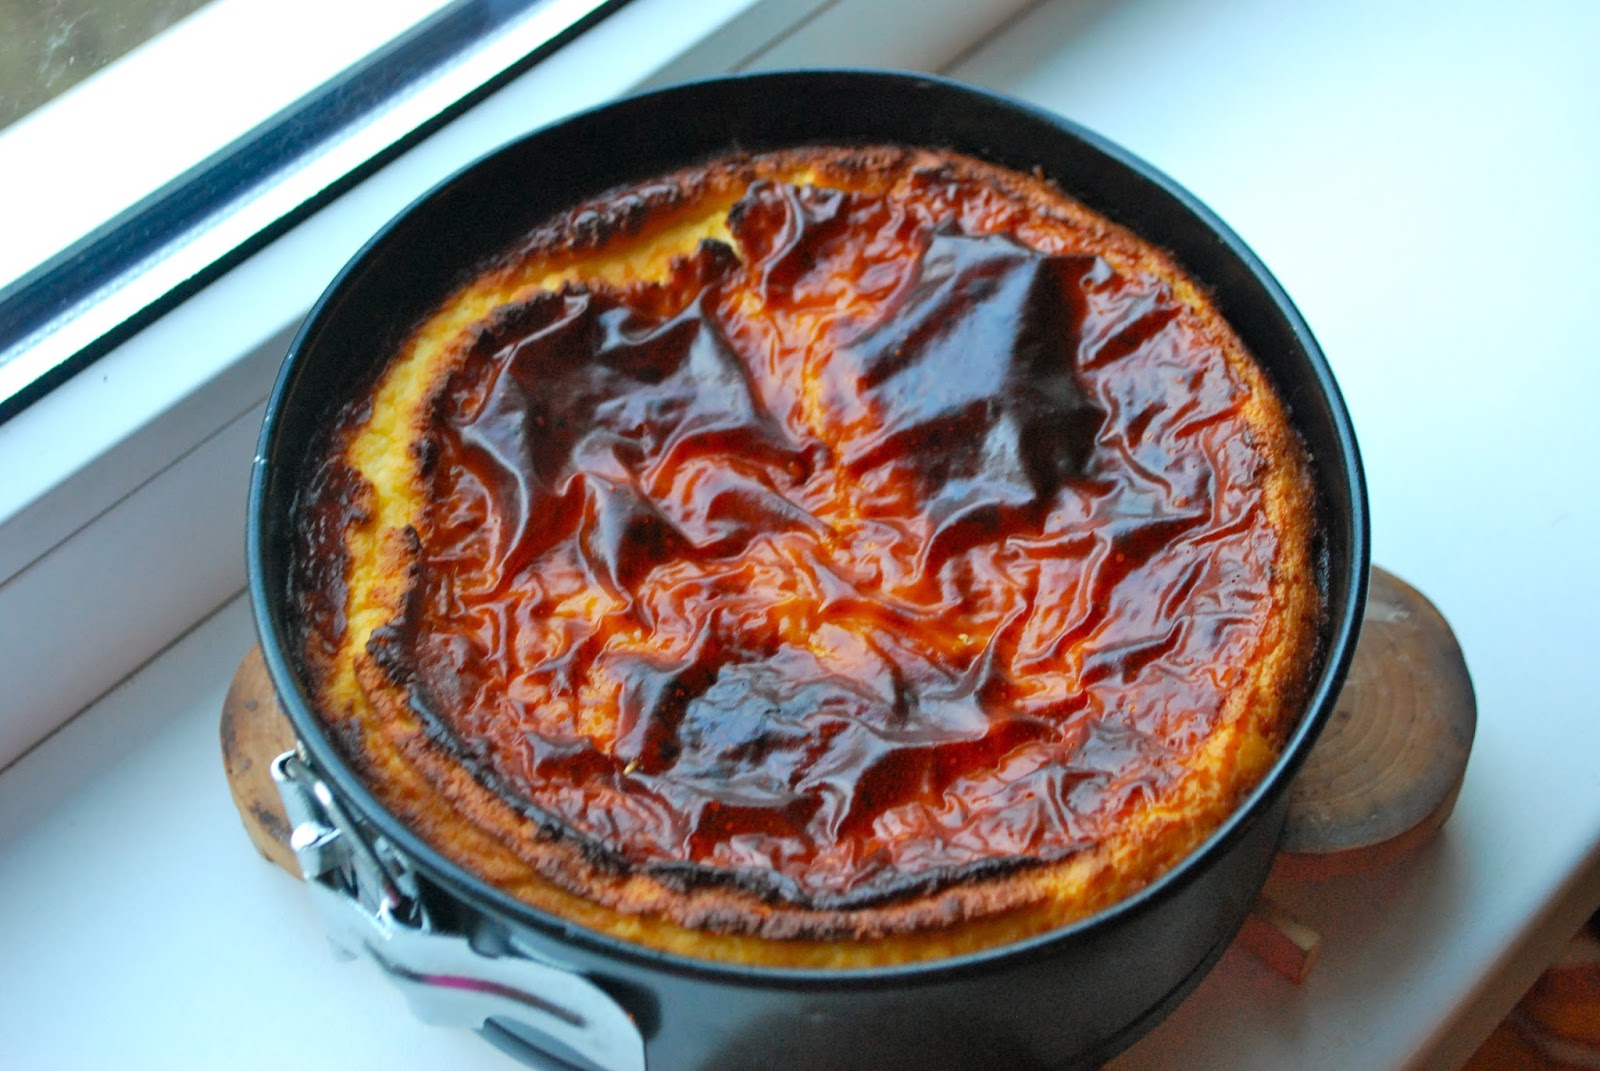
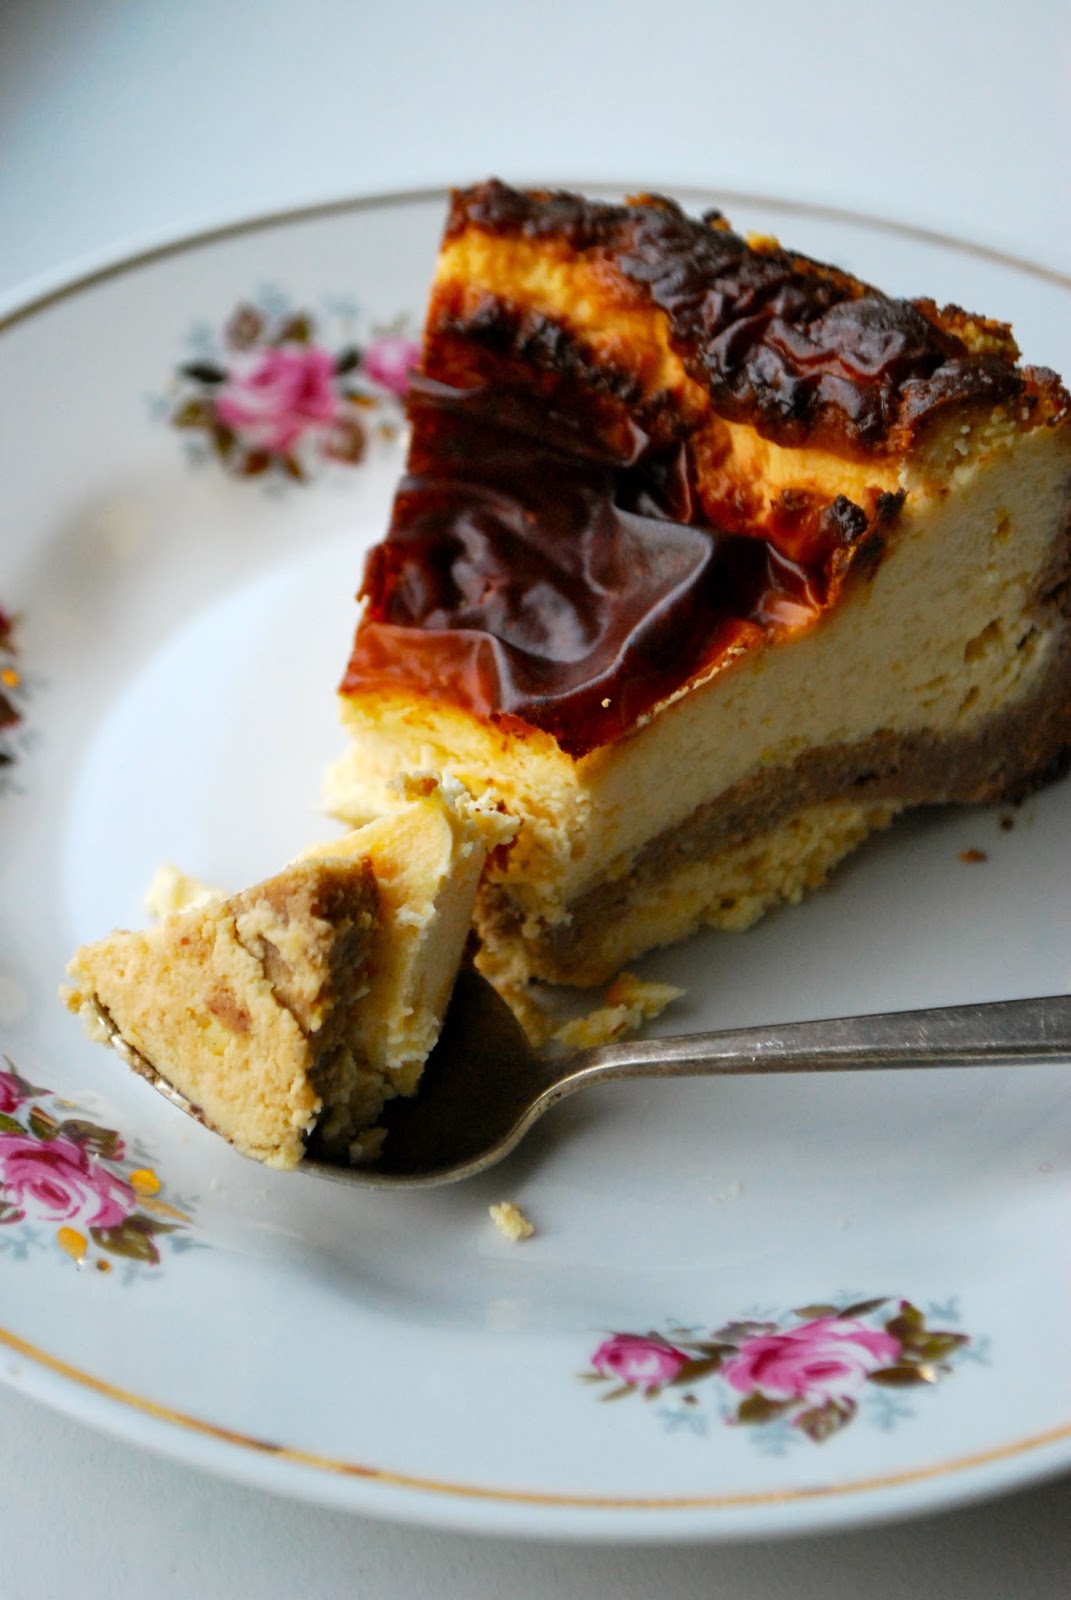
And there you go: a tasty and beautiful LCHF cheesecake.


What about nutrition?
The whole cake is 2618 kcal, 74 g of protein, 43 g of carbs (of which 11,2 g is fiber, so 31,8 grms of net carbs), 245 g of fat.
If cut into 6 big portions, then one portion is 436 kcal, 12,4 g of protein, 7,18 g of total carbs (1,87 grams of fiber, so 5,31 g of net carbs), 41 g of fat.
The nutrition really depends on how much nuts you add to the base and what kind of cheese you use.
Any other suggestions?
Base recommendations according to the diameter of cake pan:
-
under 20 cm: 100 g of nuts
-
20–22 cm: 125–150 g of nuts
-
24–26 cm: 175–200 g of nuts
-
28 cm or bigger: 200 g of nuts or more
Add some berries to decorate or to add something fresh to the cake. Or a little melted dark chocolate.
Bon appetit! 🙂